
Last updated November 4, 2026
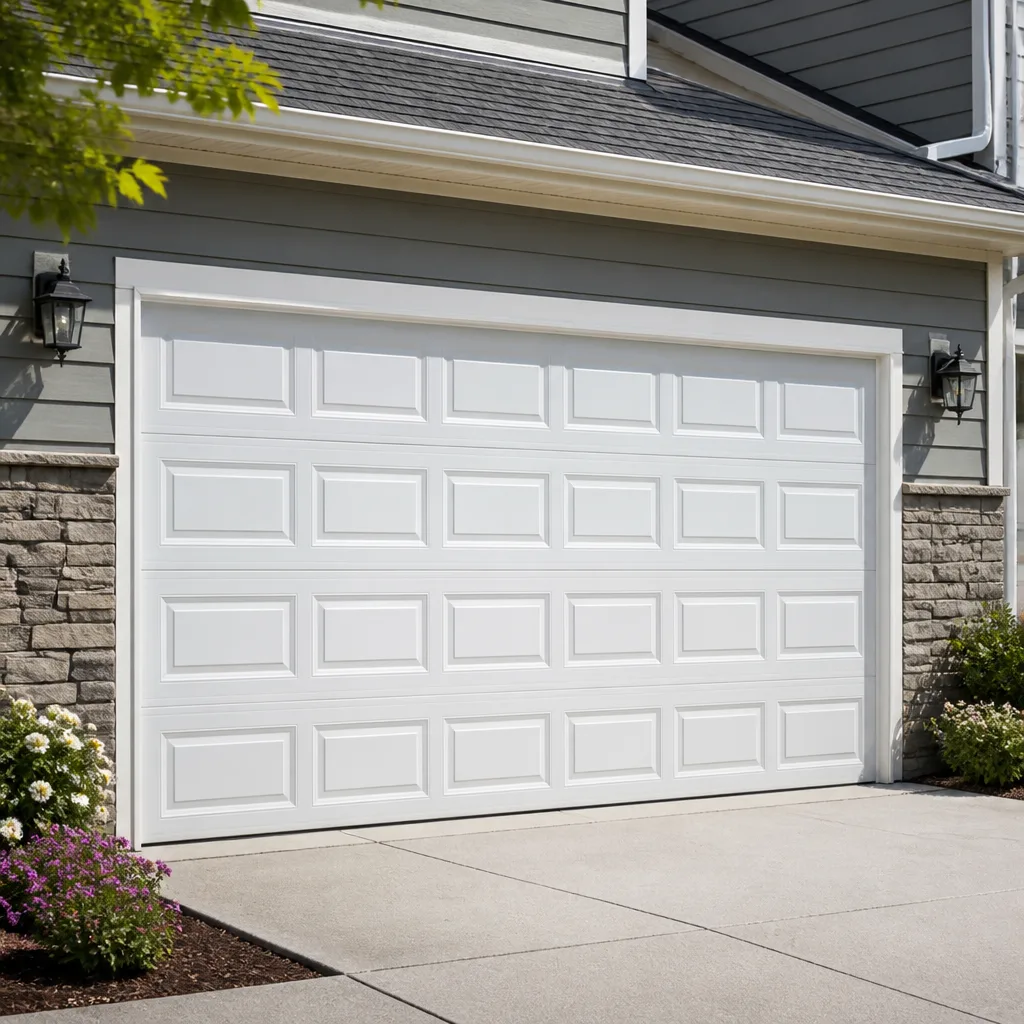 Raised-panel steel
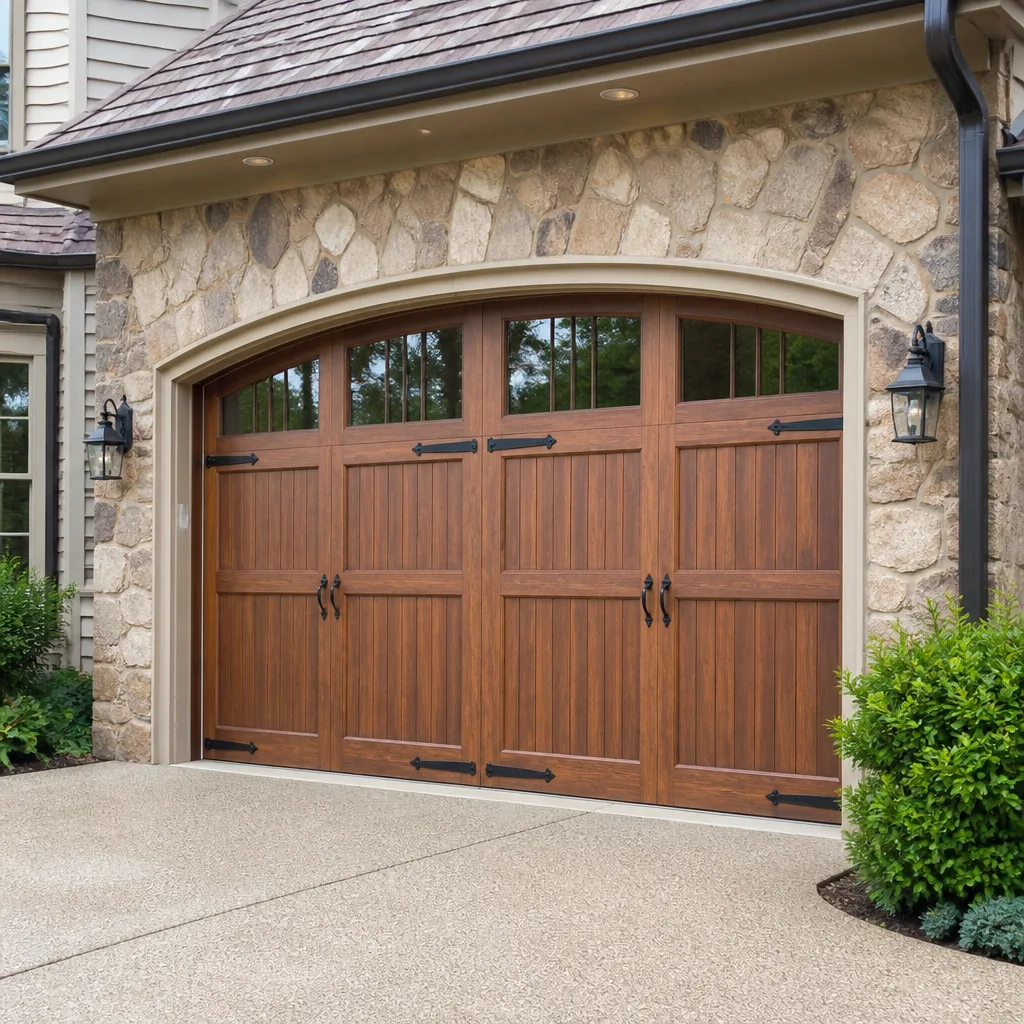 Carriage house
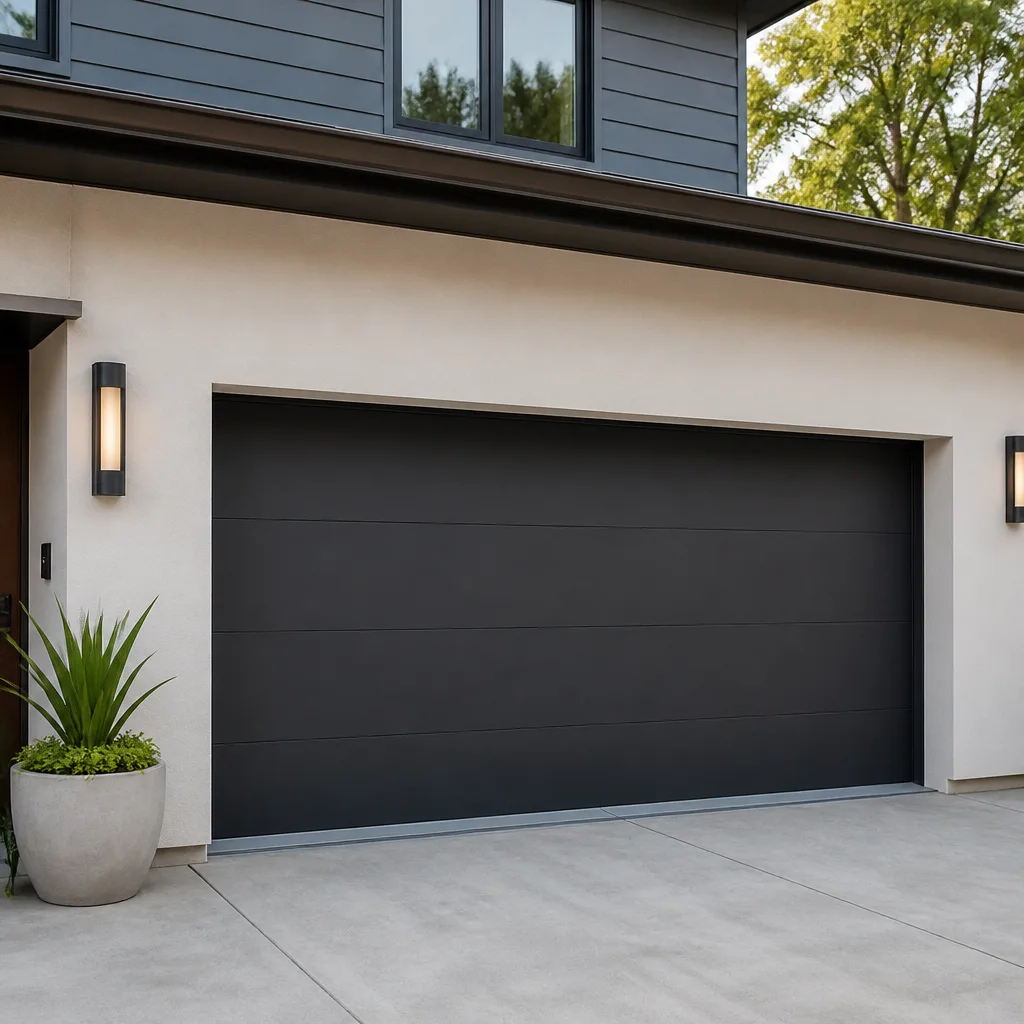 Modern flush
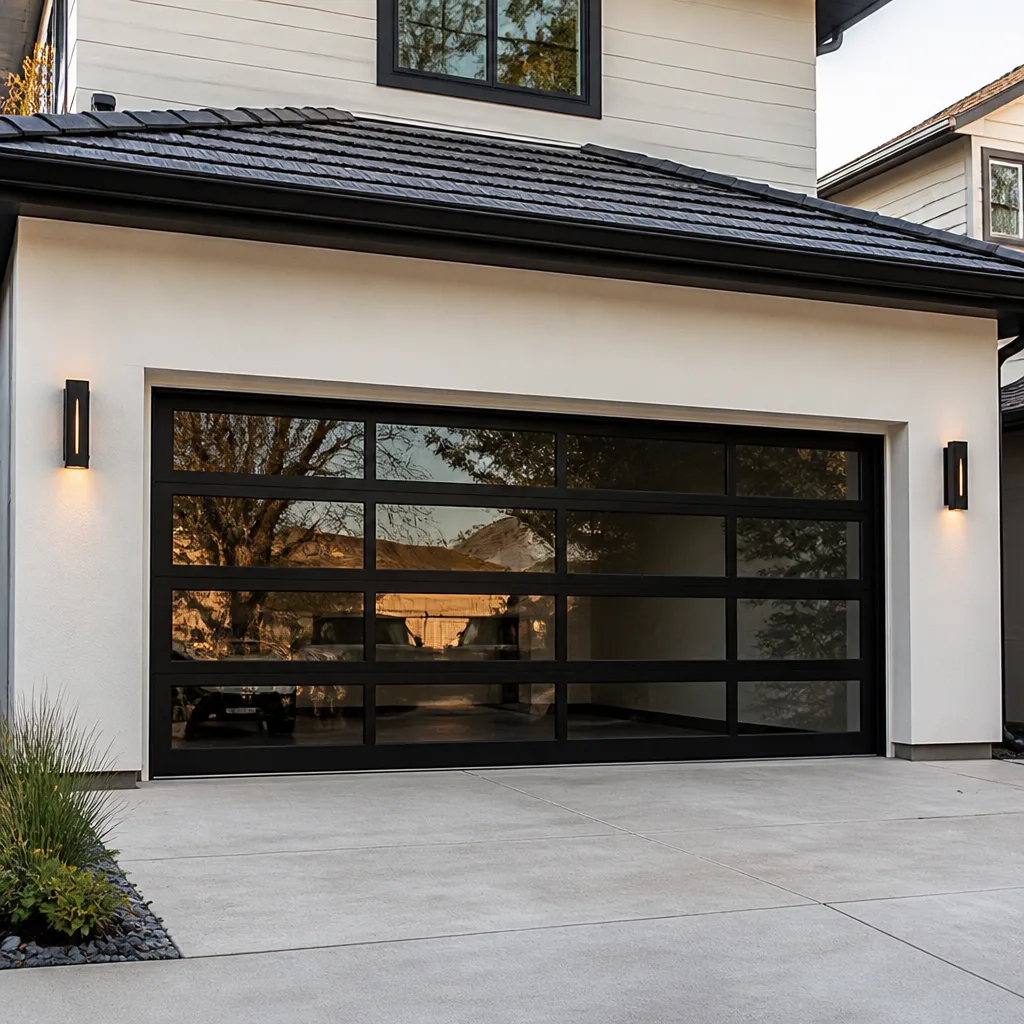 Full-view glass
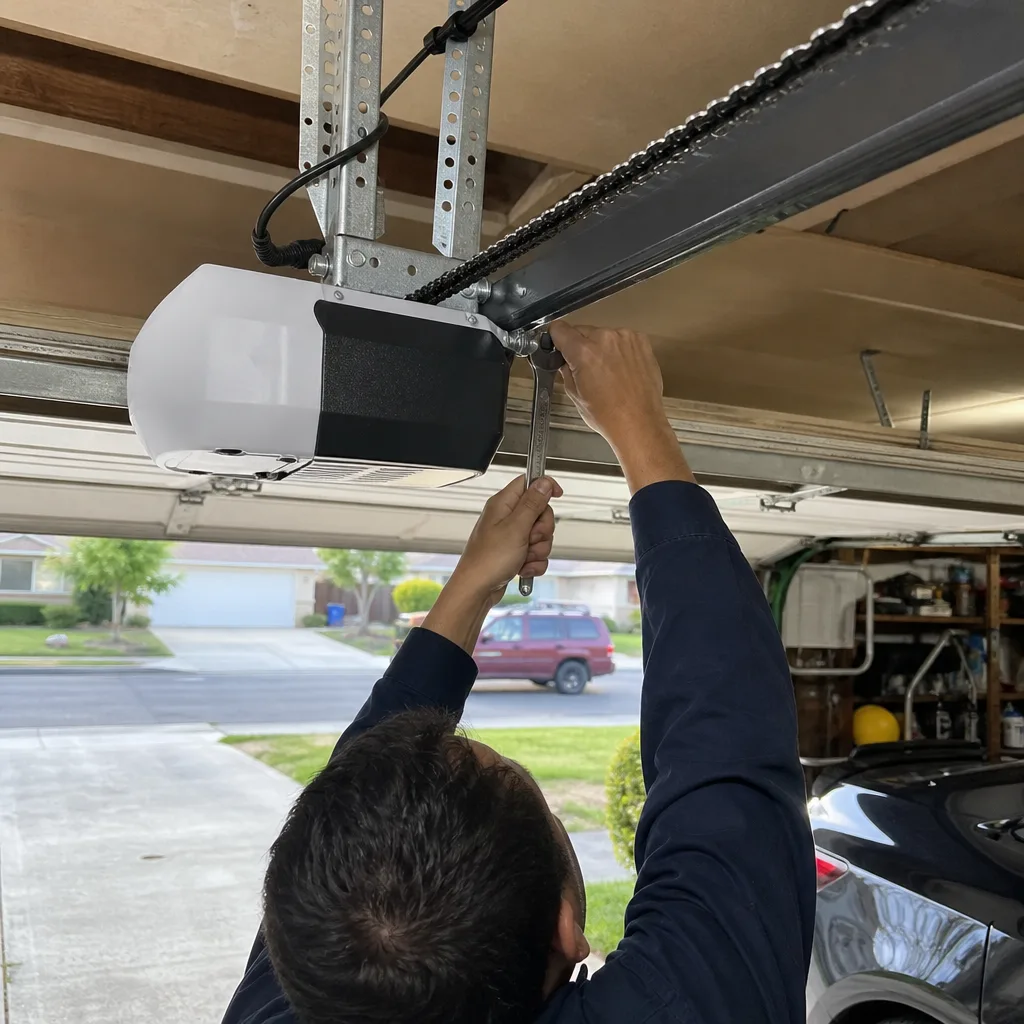
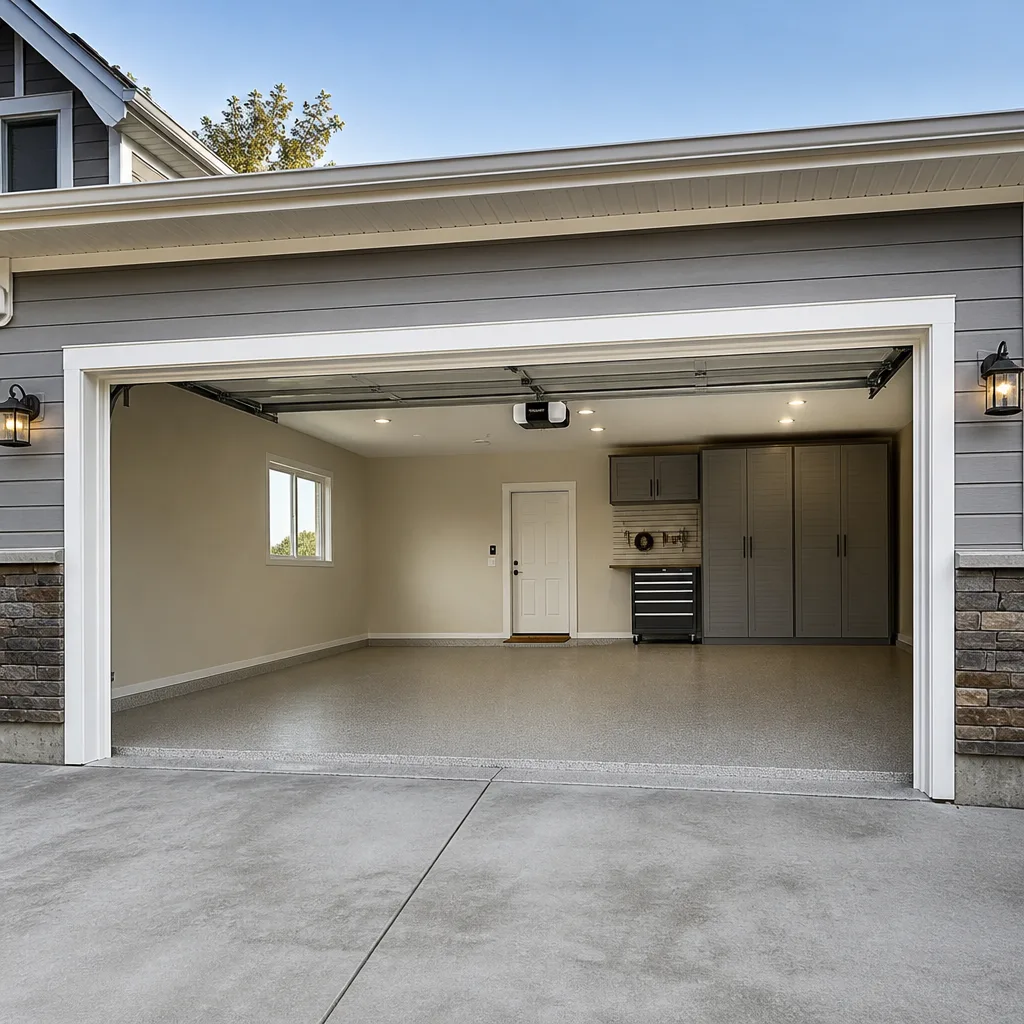 LiftMaster openers
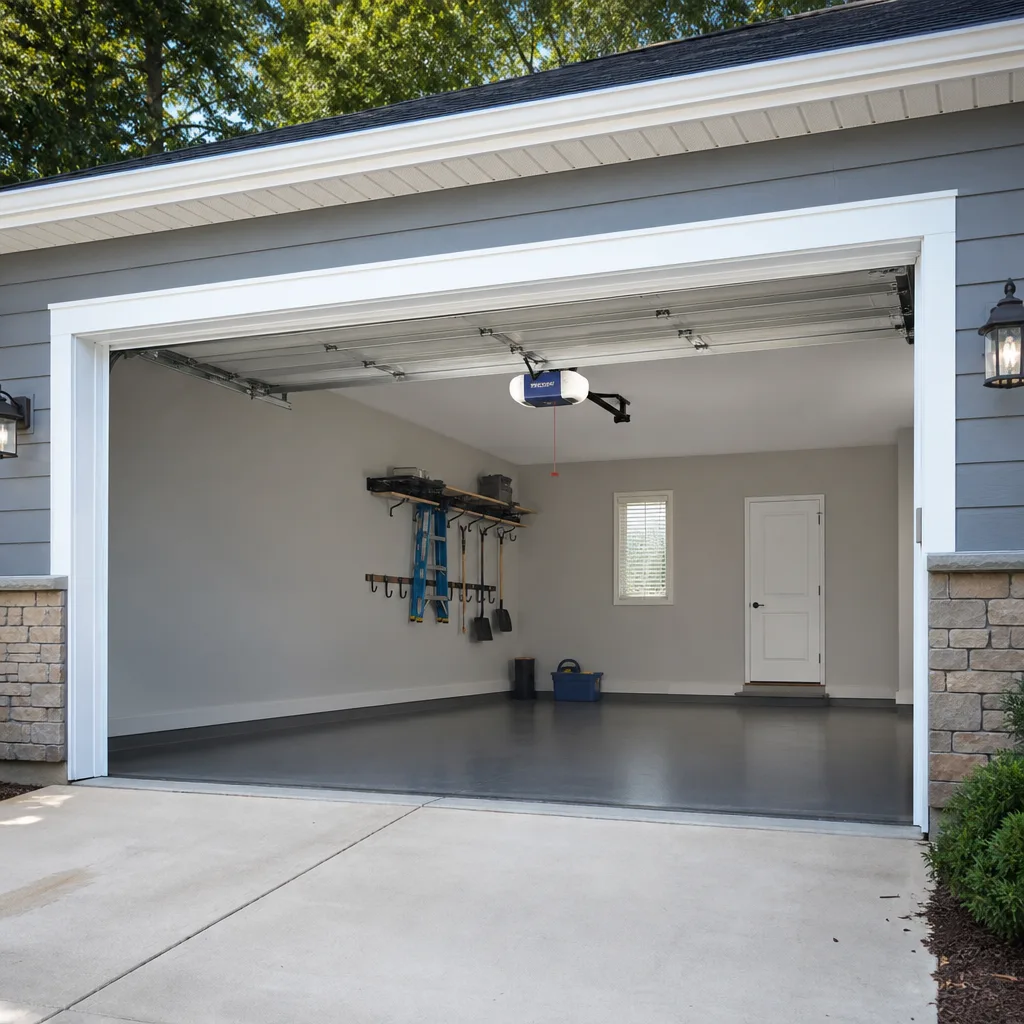 Chamberlain openers
Full 25-point door and opener safety check with every visit - springs, cables, rollers, tracks, and your LiftMaster or Chamberlain opener included
You get a price before we start. It does not change when the truck arrives.
Get your free estimateGarage Door Repair Maintenance Checklist for Norwalk Homeowners
Most garage door maintenance advice feels like it was written by someone who has never actually watched a door die. Lubricate the hinges, test the auto-reverse, check the weatherstrip. That’s the standard list, and it misses the point. By the time a Norwalk homeowner calls us for a repair, the door has usually been broadcasting warning signs for months. A half-second hesitation here, a faint metallic chirp there. The checklist below is built around those early failure patterns, the ones we see repeat across hundreds of service calls in Norwalk. You’ll learn what to check, what each symptom actually means, and how long you can realistically ignore it before the repair becomes urgent.
Styles & brands we work with
- Raised-panel steel
- Carriage house
- Modern flush
- Full-view glass
- LiftMaster openers
- Chamberlain openers
Quick Answer
A garage door maintenance checklist for Norwalk homeowners should include monthly visual and audio checks of the track, rollers, and cables, a quarterly spring tension test and balance check, and lubrication of all moving parts every four to six months. Norwalk’s dry, dusty air means lubrication intervals should be shorter than the national average. The most important habit is learning what early failure sounds and looks like: a door that hesitates on the way down or a track that shows shiny wear points is telling you something specific, and catching it early prevents a much larger repair.
Table of Contents
- The Five Failure Patterns We See Most in Norwalk
- Monthly Diagnostic Checklist: 15 Minutes
- How to Test Spring Tension Without Tools
- Why Norwalk’s Dry Air Changes Your Lubrication Schedule
- Opener Motor Thermal Cutout: What Summer Heat Actually Does
- Quarterly and Annual Tasks: The Deeper Checks
- Common Mistakes to Avoid
- When to Call a Professional
- Frequently Asked Questions
- The Bottom Line
The Five Failure Patterns We See Most in Norwalk
Every repair call we take has a backstory, and most of those backstories share the same plot. The homeowner noticed something small, figured it was normal, and waited. Here are the five most common repair calls in Norwalk, what they look like in the early stages, and roughly how long that early stage lasts before the door fails outright.
1. Misaligned Track
This is the number-one repair call we handle in Norwalk, and it’s the one that surprises people most. A track doesn’t need to be visibly bent to be misaligned. The early symptom is often a half-second hesitation as the door passes a certain point on its way down. You might hear a soft scraping sound, or notice that one side of the door sits slightly closer to the frame than the other. Homeowners ignore this because the door still opens and closes. From the first subtle hesitation to a door that jams or jumps the track entirely, the typical window is 12 to 18 months. The fix early on is usually simple: a track adjustment and roller alignment. The fix later is a door off its track, a bent panel, or a damaged roller bracket.
2. Worn Rollers
Rollers are the consumable workhorses of the system. Norwalk’s dry dust gets into the bearings and accelerates wear. The early audio cue is a rumbling or grinding sound when the door moves, especially on the curved section of track. Visually, you’ll see black dust around the roller stems. A roller that has flat spots or wobbles on its stem is near the end. Roller failure typically progresses over one to two years, but once a roller seizes, the door can bind mid-travel and strain the opener. We replace rollers as a set, because when one is worn out, the others aren’t far behind.
3. Spring Fatigue
Torque springs have a finite life span, measured in cycles, not years. A cycle is one full open and close. The average residential door is rated for roughly 10,000 cycles, which for many Norwalk households works out to seven to ten years. The early symptom of spring fatigue is a door that feels heavier when you lift it manually, or an opener that seems to strain more than it used to. You might also hear a soft clunk from above the door when it opens, which is the spring settling. A fatigued spring might last months after you first notice the symptoms, but a broken spring fails instantly and without warning, usually while the door is mid-travel. That’s the scenario where a door slams down or refuses to open, and it’s the reason we treat spring concerns as urgent.
4. Cable Fraying
Cables work in tandem with the springs to lift the door’s weight. They’re under constant tension, and they fail by fraying, one thin strand at a time. The early visual cue is a cable that looks slightly fuzzy or has a few loose strands near the bottom bracket. You may also notice the door lifting unevenly, with one side an inch or two higher than the other. Frayed cables can hold for weeks or months, but there’s no way to predict the day they snap. A snapped cable under load is dangerous, and it usually takes the bottom bracket with it.
5. Opener Logic Board Overheating
This one is often misdiagnosed by homeowners as a dying motor. In Norwalk’s summer heat, especially in garages that face west or lack ventilation, the opener’s logic board can overheat and trigger a thermal cutout. The door stops responding for a few minutes, then works again after cooling down. If the problem disappears in the evening, it’s almost certainly heat-related, not mechanical. The fix is sometimes as simple as improving garage ventilation or relocating the opener’s wiring away from the hot ceiling. More often than not, the motor itself is fine. We see this most with Chamberlain and LiftMaster units, but every opener brand has a thermal ceiling.
Monthly Diagnostic Checklist: 15 Minutes
This is a diagnostic routine, not a task list. You’re looking for changes, not just checking boxes. Do this once a month, and keep a mental note of anything that looks or sounds different from last month.
- Open and close the door once, and stand just inside the garage door opening. Watch the door travel. It should move smoothly, with no visible stutter, hitch, or side-to-side movement. A door that pauses for even a tenth of a second at a specific point is telling you about a track or roller issue.
- Listen for any sound that wasn’t there last month. A clean door with healthy rollers makes a low mechanical hum. New sounds to flag: grinding (roller bearings), squealing (dry hinges or springs), rattling (loose hardware), and scraping (track contact). Each sound maps to a different component.
- Inspect the cables on both sides. Look at the bottom brackets where the cable attaches. Check for loose strands, a fuzzy appearance, or rust-colored discoloration. Both cables should be taut and identical in appearance. One slack cable means the door is lifting unevenly.
- Check the track brackets. Give the vertical tracks a gentle push side-to-side. They shouldn’t flex. Look at the bolts holding the track brackets to the wall and ceiling. A track bracket that has loosened by even a quarter inch changes the geometry of the entire system.
- Watch the rollers at the bottom bracket area. They should roll along the track, not slide. A roller that slides instead of rolls has seized bearings, which grinds a flat spot onto the roller and puts drag on the opener.
- Test the door’s response to your remote from the street. It’s a quick way to catch antenna or range degradation early. If the door responds only when you’re within a few feet of it, the opener’s receiver is losing sensitivity, which often precedes a logic board issue.
Total time: about 15 minutes. If you do nothing else on this list, do the first two steps. They catch the majority of problems we see at garage door repair calls in Norwalk while they’re still cheap to fix.
How to Test Spring Tension Without Tools
Testing your spring balance doesn’t require a tension gauge or any special equipment. You need your hands, your ears, and a step ladder. Here’s the sequence we walk Norwalk homeowners through when they call and ask if their spring is wearing out.
- Disengage the opener. Pull the red emergency release handle while the door is closed. This separates the door from the opener carriage so you’re testing the door itself, not the motor.
- Lift the door manually to waist height. Use the door’s handles or the bottom edge. A properly balanced door will feel surprisingly light, around 10 to 15 pounds of effort, and it will stay exactly where you put it. That’s the key test: a balanced door holds its position at waist height without drifting up or down.
- Release your hands. If the door stays put, the springs are doing their job. If it slowly drifts down, the springs are losing tension. If it shoots upward, the springs are over-tensioned, which is actually harder on the opener and cables than under-tensioning.
- Lift the door all the way up and lower it all the way down by hand. The effort should feel consistent through the entire travel. A door that gets noticeably heavier as it approaches the top has a spring issue. One that feels smooth at the top but heavy at the bottom usually indicates a track alignment problem instead.
- Re-engage the opener. Run the opener once to re-seat the carriage. Listen for any new sounds from the spring while it moves. A spring that creaks or pops is a spring that needs attention.
Spring balance is not just about convenience. An under-tensioned spring forces the opener to work harder than it’s designed to, which shortens the opener’s life. An over-tensioned spring slams the door upward and puts repeated impact stress on the cables and bottom brackets. If the door drifts more than a few inches in either direction during the waist-height test, that’s a signal to have the spring adjusted or replaced. Never attempt to adjust a torque spring yourself. The tension stored in a wound spring is enough to cause serious injury, and Garage Door Service Norwalk technicians handle spring work with the right winding tools and training.
Why Norwalk’s Dry Air Changes Your Lubrication Schedule
Manufacturer lubrication recommendations are written for a national audience, and that’s exactly the problem. The typical guidance says to lubricate your door every six months or every year. For a garage door operating in Norwalk, that interval is too long.
Here’s why. Norwalk sits inland, in a dry, dusty environment where airborne grit is a constant. That dust doesn’t just settle on surfaces; it works its way into the hinge pins, roller bearings, and the microscopic spaces where metal moves against metal. A lubricated surface holds that dust in suspension, which is why the right lubricant matters. A dry hinge in Norwalk wears faster than a dry hinge in a coastal climate simply because there’s more abrasive particulate in the air.
We recommend lubricating every four to six months in Norwalk, and we’re very specific about what to use and what to avoid. Use a lithium-based grease for the hinges and a dedicated garage door roller lubricant for the bearings. Spray the torsion spring lightly along its coils. What you should never do is spray WD-40 on a garage door. It’s a solvent, not a lubricant, and it strips away the protective film without leaving meaningful lubrication behind. It also attracts grime into the roller bearings and accelerates wear.
Here’s the lubrication routine we recommend for Norwalk conditions:
- Hinges: One short spray on each hinge pin, every four to six months. Wipe away any excess that runs down the door face.
- Rollers: Lubricate the bearing stems, not the roller surface itself. The roller must roll on the track, and a greasy roller collects grit.
- Torsion spring: A light coat along the spring coils. You’re reducing friction between coils as the spring winds and unwinds, and a light coat also slows rust formation on the spring surface.
- Opener chain or belt: Chains need a light lubricant. Belts need none; applying lubricant to a belt shortens its life and throws its tracking off.
- Track: Do not lubricate the track. Ever. The track is designed as a dry surface, and any lubricant there becomes a grinding paste with dust.
If your door has started squealing, lubrication can quiet a minor case, but it won’t fix a dry bearing that’s already scored. Once a roller or hinge audibly grinds, the wear is already measurable, and the component is on its way out. Lubrication is maintenance, not repair.
Opener Motor Thermal Cutout: What Summer Heat Actually Does
Every garage door opener with an electric motor has a thermal cutoff switch. It’s a safety feature, not a flaw. When the motor or the logic board reaches a certain temperature, the opener shuts itself down to prevent permanent damage. After it cools, it works again. In Norwalk, where summer temperatures routinely push garage interiors well above the outside temperature, thermal cutout is a common call.
The misdiagnosis usually goes like this. A homeowner presses the remote on a hot afternoon, the door doesn’t respond, and they assume the motor has died. They call a general repair service, someone tells them it needs a new opener, and they pay for a replacement that wasn’t necessary. The giveaway that it’s thermal cutout and not a dead motor is the recovery curve. A motor that’s failed doesn’t come back to life after twenty minutes. A motor in thermal protection does.
There are a few things that make thermal cutout more likely. West-facing garages absorb afternoon sun and hold heat into the evening. Garages without ventilation trap hot air up near the ceiling, exactly where the opener sits. And openers mounted on uninsulated ceilings in older Norwalk homes run hotter than those in newer construction.
What you can do about it:
- Note when the failure happens. If it’s always in the afternoon during summer and the door works fine in the morning, it’s heat-related, not mechanical.
- Give the opener time to cool before assuming it’s dead. Wait 20 to 30 minutes, then try again. If it works, you’ve identified the problem.
- Improve garage ventilation. Even a small vent near the ceiling or a cooler air path through the garage reduces peak temperatures enough to prevent cutout in many cases.
- Check the opener’s lights and display. Many LiftMaster and Chamberlain units have error codes that flash when thermal protection trips. That code tells you definitively before you call anyone.
If the opener trips thermal protection repeatedly even with better ventilation, the motor itself may be drawing excessive current, and that’s a genuine repair issue. But a door that only misbehaves on the hottest afternoons is usually a heat management problem, not a failed opener. That’s the distinction we make on garage door opener repair calls in Norwalk before recommending any replacement.
Quarterly and Annual Tasks: The Deeper Checks
The monthly checklist catches changes in behavior. The quarterly and annual tasks are about component condition and safety systems. Most of these take longer and some require a ladder, but they cover the systems that fail gradually and expensively.
Quarterly (every 3 months): 30 minutes
- Torque-check all visible bolts and brackets. Door panels are heavy and they vibrate with every cycle. Door hinge bolts, track brackets, and opener mounting bolts all loosen over time. A socket set and ten minutes catches most of it.
- Inspect the weatherstrip along the bottom of the door and the side jambs. Norwalk’s dry air can crack rubber seal quicker than you’d expect, especially on doors that get direct afternoon sun. A cracked bottom seal lets dust, pests, and hot air into the garage.
- Run the auto-reverse test with a solid object. Place a rolled-up newspaper or a piece of scrap lumber flat under the door’s path, then close the door. The door should reverse within a second or two of contacting the object. Test both the closing force and the photoelectric sensors. If the door doesn’t reverse, treat this as an urgent safety issue.
- Check the emergency release pull cord. It should hang freely and pull easily. Test it by disengaging the door and manually lifting it a foot or two, then re-engaging. This is also a good time to confirm the manual operation still feels balanced.
Annual (every 12 months): 60 minutes, plus planning time
- Full spring assessment. Use the spring tension test from earlier in this guide, but add a visual inspection. Look for gaps between the spring coils, rust on the spring surface, or a spring that sits at an angle. Any of these suggests the spring is nearing replacement. Replacement is a two-spring job: when one fatigues, the other follows soon after, and replacing both at once restores balance and avoids a second service call.
- Roller replacement evaluation. Nylon rollers wear out on a predictable schedule. If your rollers have visible flat spots, wobble, or black dust accumulation, plan to replace all of them. Roller replacement is straightforward when done early and a bound-up door repair when ignored.
- Track lubrication check for alignment. Even without lubrication, the track should be clean and free of gouges. A track with shiny wear marks in one spot indicates the roller is pressing too hard against that section, which is an alignment signal.
- Opener force and limit settings. If your door closes with a hard thud or reverses randomly near the floor, the opener’s force and travel limits need adjustment. This is a common call on Craftsman and Genie openers that have drifted out of calibration over time.
- Inspect the door panels for cracks, separation, or sagging. Panel separation on older wood or composite doors is common in Norwalk’s low-humidity climate, and it changes the door’s weight distribution. That in turn throws off spring balance and opener effort.
A note on parts availability. If you own a Wayne Dalton, Raynor, or Craftsman system, not every replacement part is on a shelf at the local hardware store. We work with brand-matched parts for each of the major manufacturers, which means the replacement roller, spring, or logic board is the correct one for your door, not a generic substitution. That matters more than most homeowners realize until a generic part fails early.
Common Mistakes to Avoid
- Lubricating the track. This is the most common maintenance error we see in Norwalk. The track is a dry contact surface. Adding lubricant creates a grinding paste with the dust that’s always present in our dry air, and that accelerates roller and track wear.
- Ignoring a slow, grinding door because it “still works.” A door that moves slowly is usually compensating for increased friction from worn rollers or misaligned track. The opener is absorbing that extra load, and the problem compounds until something breaks completely.
- Using WD-40 as a garage door lubricant. It’s a solvent that strips existing lubrication and leaves the metal more exposed than before. Use a lithium-based grease for hinges and a dedicated roller bearing lubricant for rollers.
- Replacing one spring instead of both. Springs are sold and installed as a matched pair for a reason. A new spring paired with a fatigued old spring creates an unbalanced door that wears out faster and stresses the opener.
- Overlooking the photoelectric sensor alignment. The little sensors at the bottom of the track get bumped by mowers, bikes, and garden tools. A door that reverses for no reason often has a sensor that’s been nudged out of alignment by a few degrees.
- Assuming a hot afternoon opener failure means the motor is dead. Thermal cutout is common in Norwalk garages. Before replacing an opener, note the pattern of failure. If it only happens on hot afternoons and recovers after cooling, the motor may be fine.
- Doing spring work without training. Torque springs store enough energy to cause serious injury or death if mishandled. Attempting to adjust or replace a spring yourself is the one mistake on this list that has the potential to be fatal.
When to Call a Professional
Some maintenance tasks are homeowner-appropriate: visual checks, lubrication, sensor alignment, and balance testing. Others are not. Any work involving the torsion spring, the cables, or the track geometry should be handled by a technician with the right tools and training. If your door is off its track, if any cable is frayed, if the spring has visible gaps or rust, or if the door behaves unpredictably, stop using it and call. A door that’s been forced while compromised can cause panel, track, and opener damage that multiplies the repair cost. Garage Door Service Norwalk offers free estimates in Norwalk. Call (833) 589-9971. We answer 24/7. Fast dispatch from 7am to 7pm, Sunday through Friday.
Frequently Asked Questions
Every four to six months, which is more frequently than the national manufacturer recommendation. Norwalk’s dry, dusty air introduces more abrasive grit into hinges and bearings, and a shorter interval compensates for that. Use a lithium-based grease on hinges and a dedicated bearing lubricant on rollers. Never lubricate the track, and never use WD-40 on your door.
Most residential torque springs are rated for about 10,000 open-and-close cycles, which for a typical Norwalk household using the door three to four times a day works out to roughly seven to ten years. Homes with heavier doors or more daily cycles will see shorter spring life. The earliest sign of spring fatigue is a door that feels heavier when lifted manually or that drifts downward from waist height during a balance test.
In most cases, this is thermal cutout, not a failed motor. Norwalk’s summer heat raises garage interior temperatures enough to trip the opener’s built-in thermal protection, especially in west-facing or poorly ventilated garages. The motor shuts down to protect itself and returns to normal after cooling for 20 to 30 minutes. If the door works fine in the morning and only fails on hot afternoons, heat is your answer. Call (833) 589-9971 if you want a specialist to confirm it.
We strongly advise against it. Torque springs are wound under extreme tension, and the energy stored in a single spring is enough to cause serious or fatal injury if the spring unwinds unexpectedly. Professional technicians use specific winding tools and follow a controlled sequence. This is the one area where the risk isn’t worth the saved labor cost.
Yes, but not urgently if you address it soon. A grinding sound usually means roller bearings are wearing out or the door is slightly misaligned and the roller is dragging on the track. Left alone, the wear creates flat spots on the rollers and eventually a door that binds mid-travel. Have it checked now, and the fix is likely a straightforward roller replacement rather than a mid-repair emergency.
Garage Door Service Norwalk works on LiftMaster, Chamberlain, Genie, Clopay, Amarr, Wayne Dalton, Craftsman, and Raynor systems, which covers virtually every door and opener a Norwalk homeowner is likely to own. That includes both the door panel side (Clopay, Amarr, Wayne Dalton, Raynor) and the opener side (LiftMaster, Chamberlain, Genie, Craftsman), so the same technician can address the full system. Call (833) 589-9971 for a free estimate.
The Bottom Line
A garage door maintenance routine that works for Norwalk homeowners is one built around early failure signals, not generic tips. Watch for the half-second hesitation, the new grinding sound, the door that drifts downward on a manual test. Those are your early warning system. Lubricate more often than the national recommendation because our dry air demands it. Test the spring balance quarterly and treat any spring or cable issue as a professional-only repair. Your garage door is your home’s largest moving part, and the maintenance you do before the failure is the difference between a small adjustment and a major repair. If something on this checklist looks or sounds wrong, call (833) 589-9971. We answer 24/7. Fast dispatch from 7am to 7pm, Sunday through Friday.
Written by the team at Garage Door Service Norwalk, serving Norwalk since 2014.
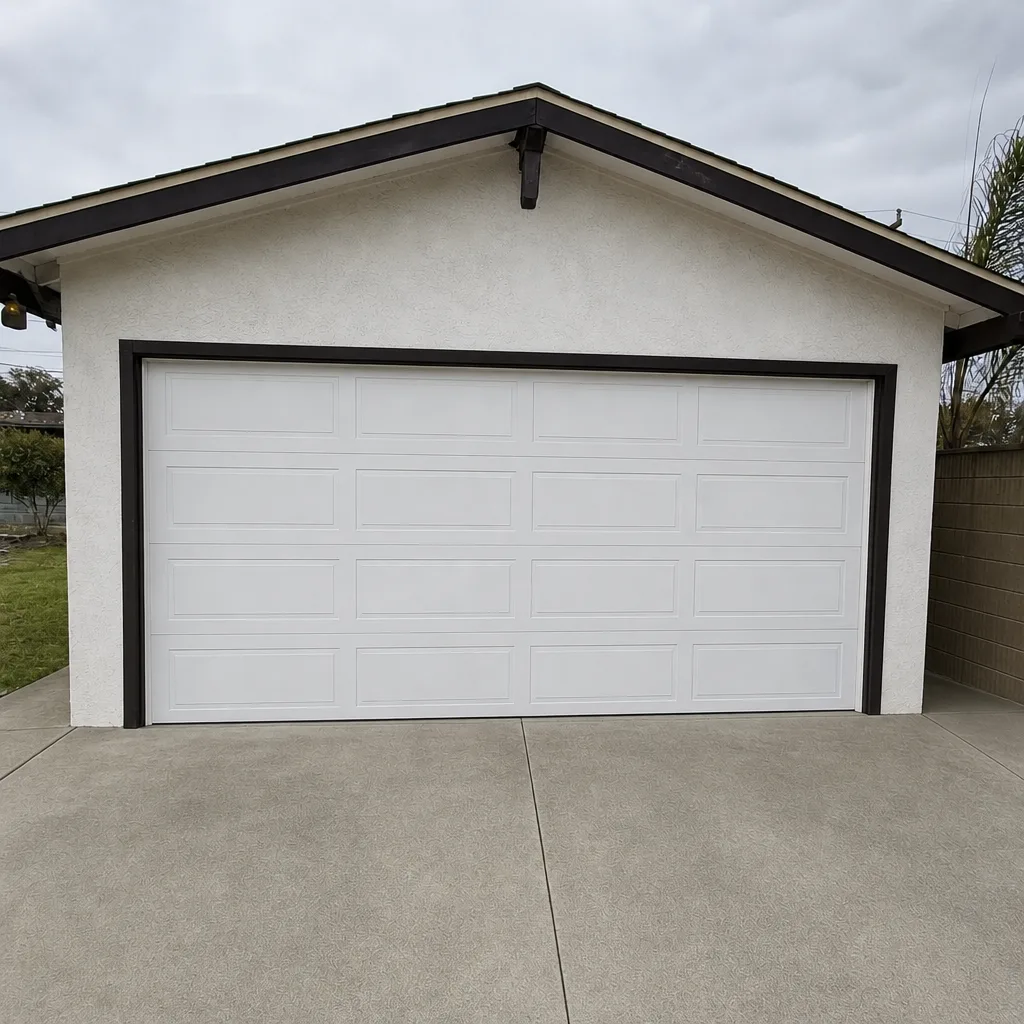
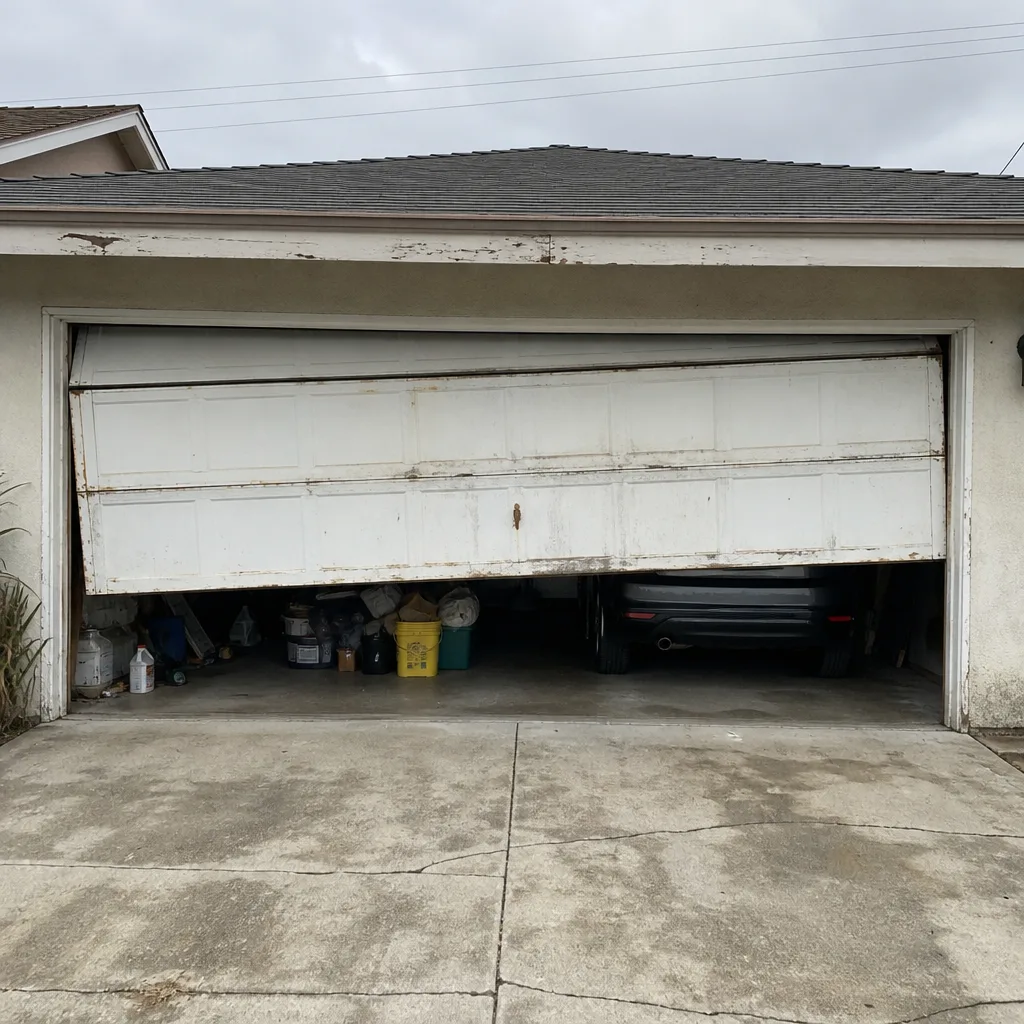
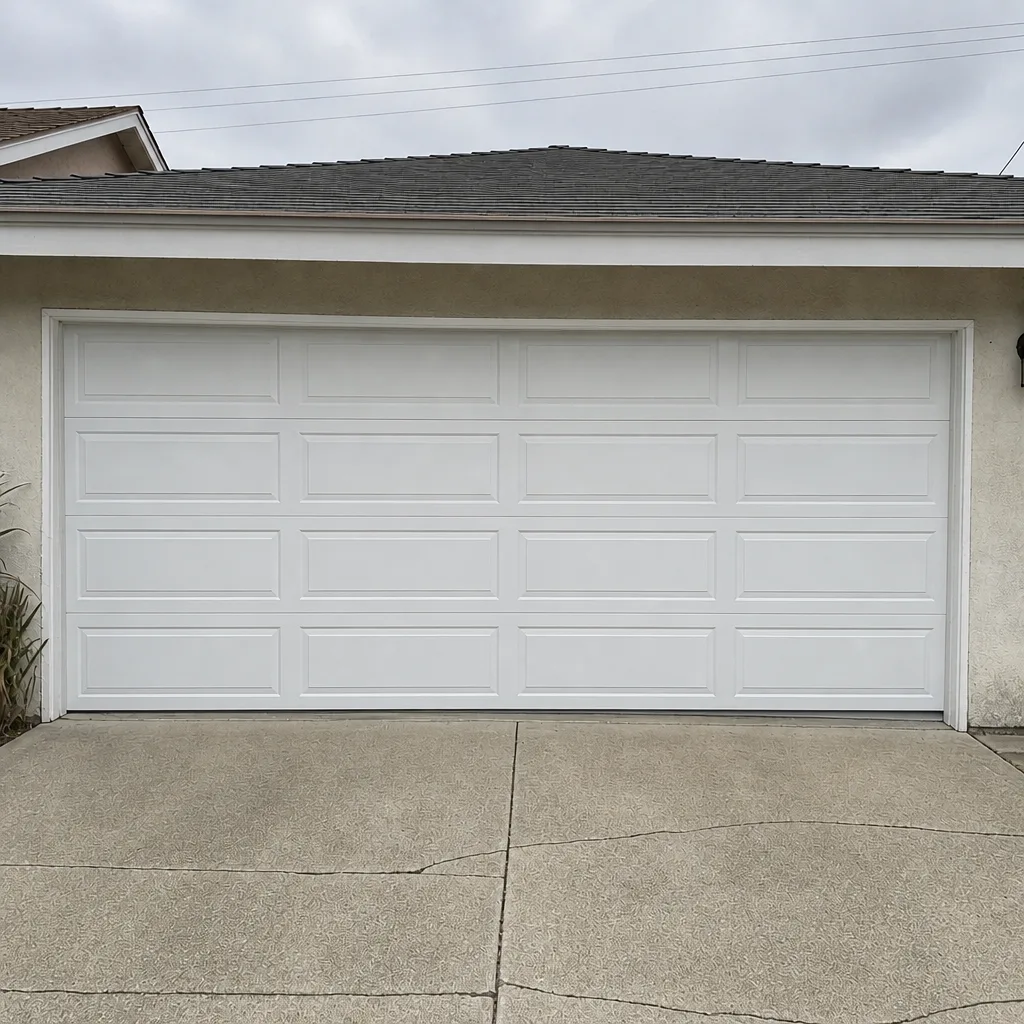
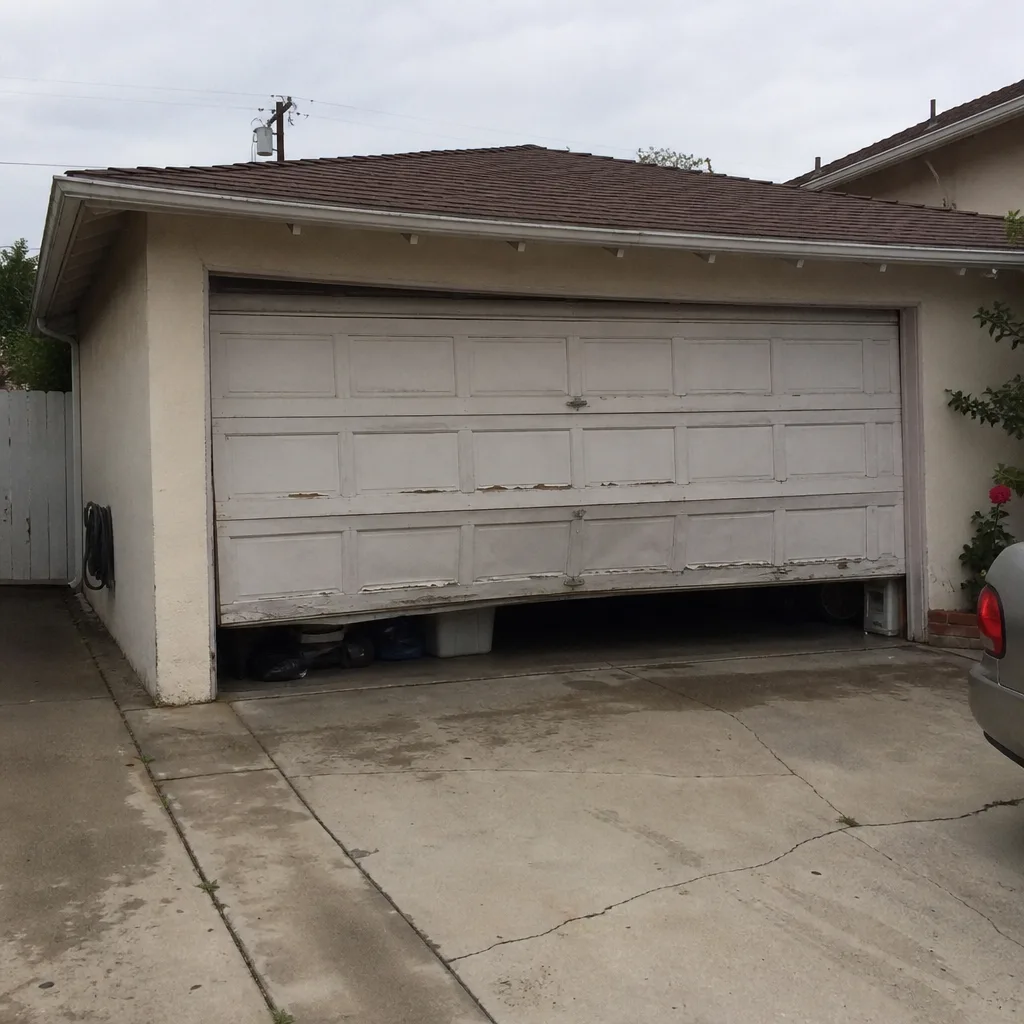
See the difference
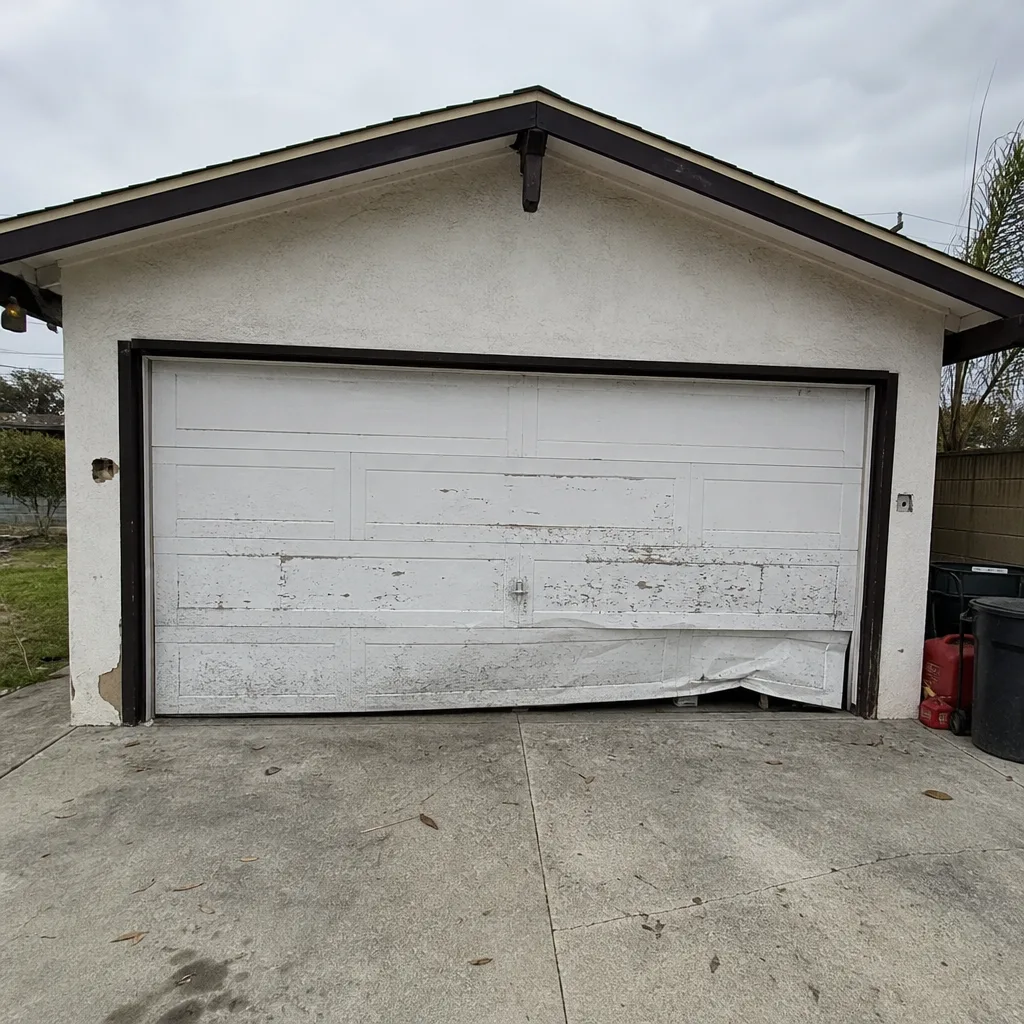 Before
 After
 Before
 After
 Before
 After