
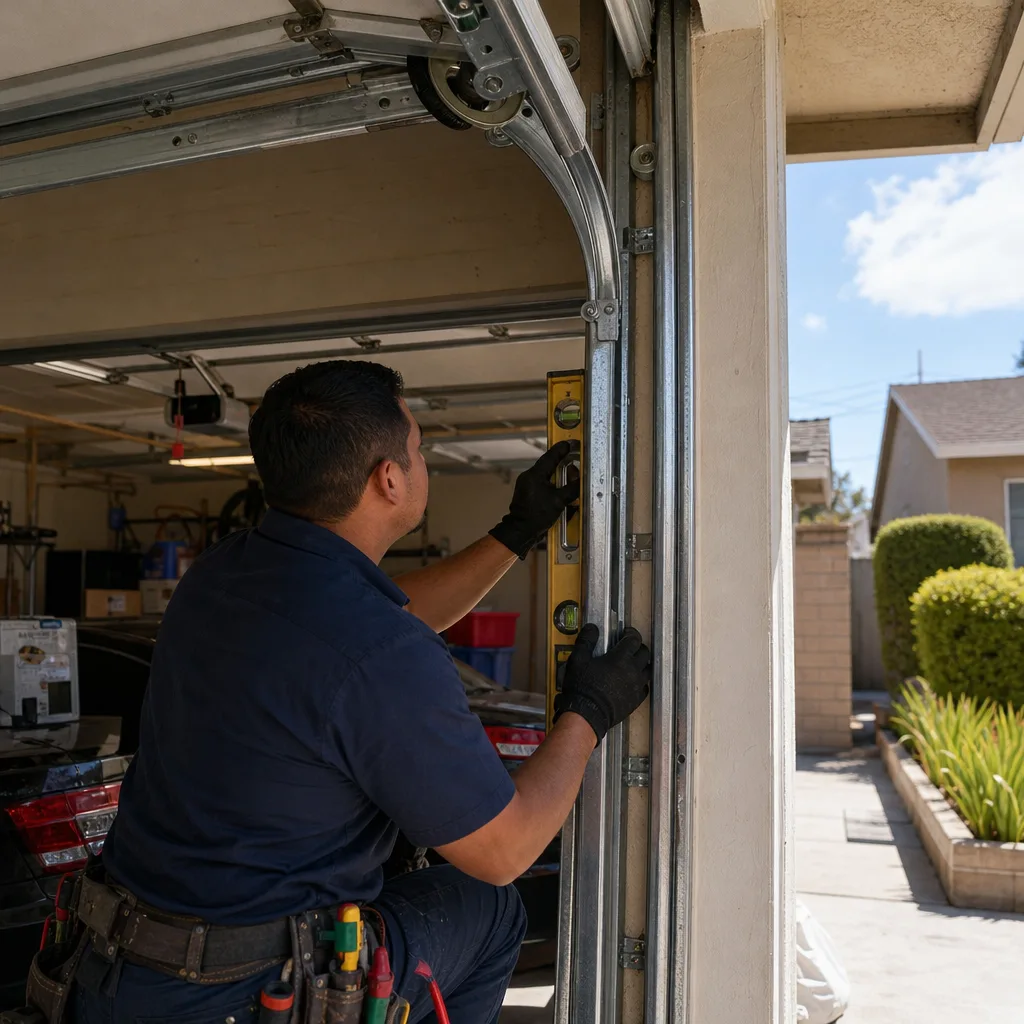
Last updated November 4, 2026
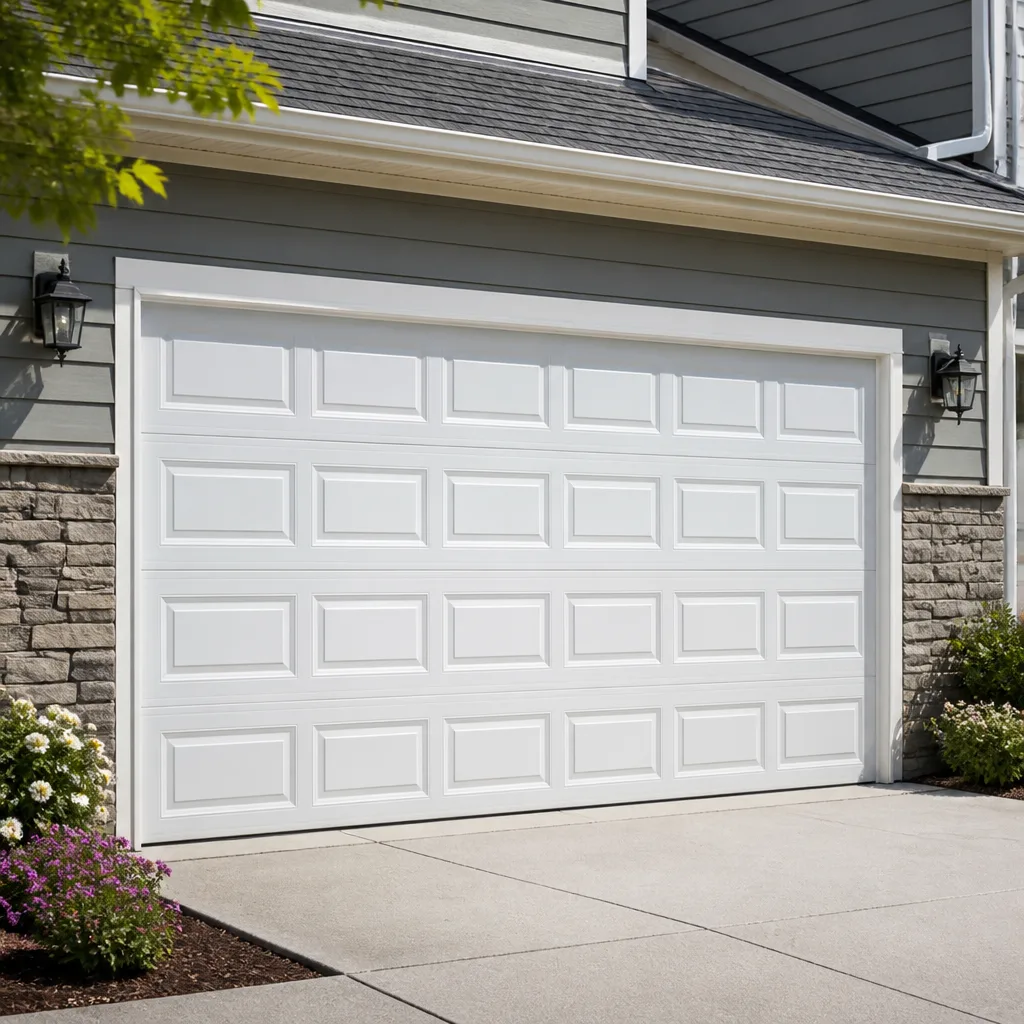 Raised-panel steel
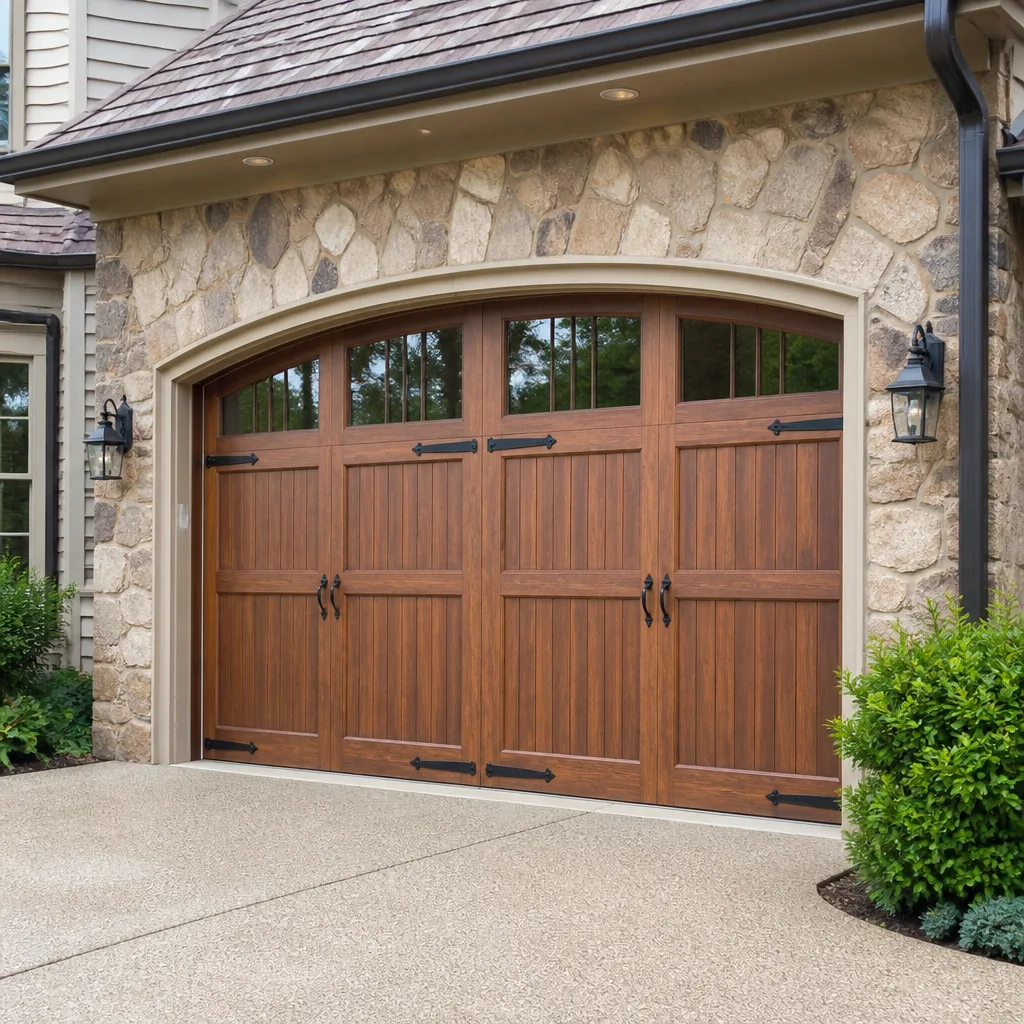 Carriage house
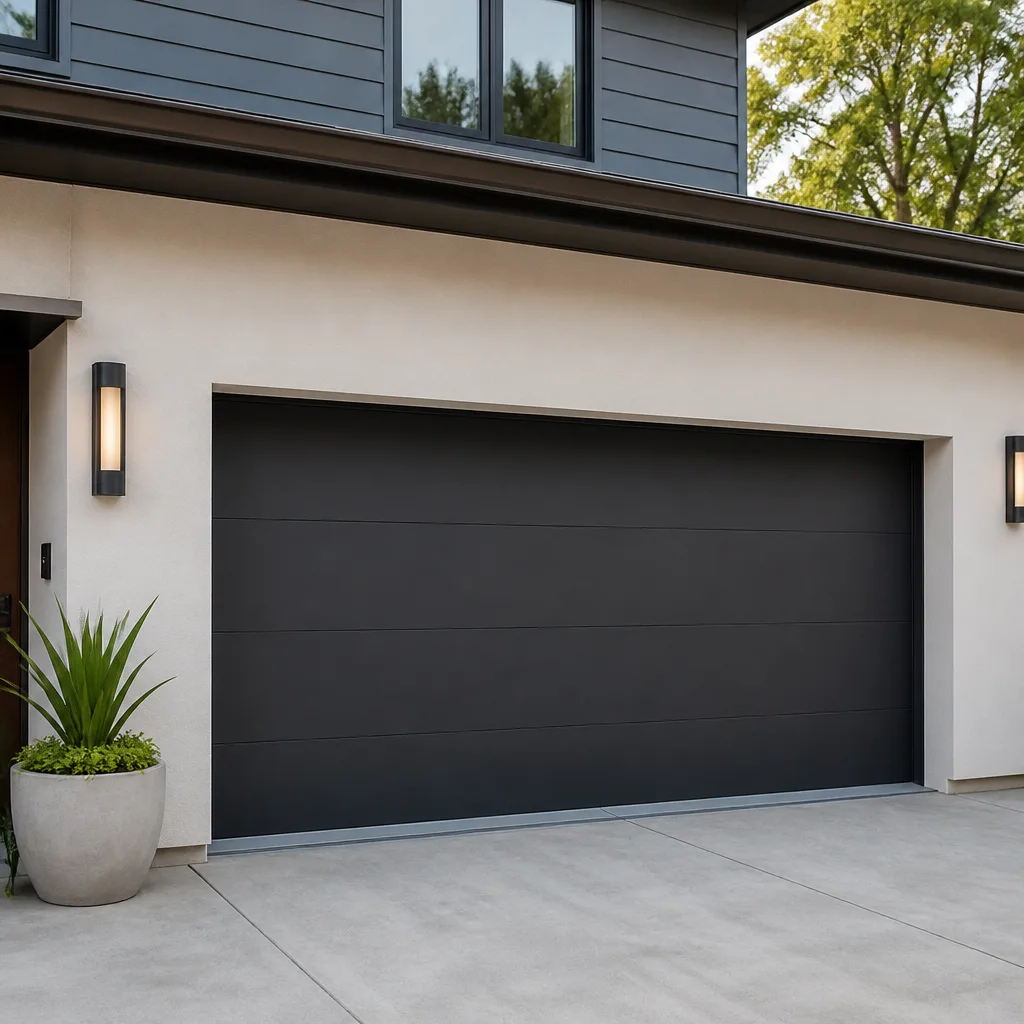 Modern flush
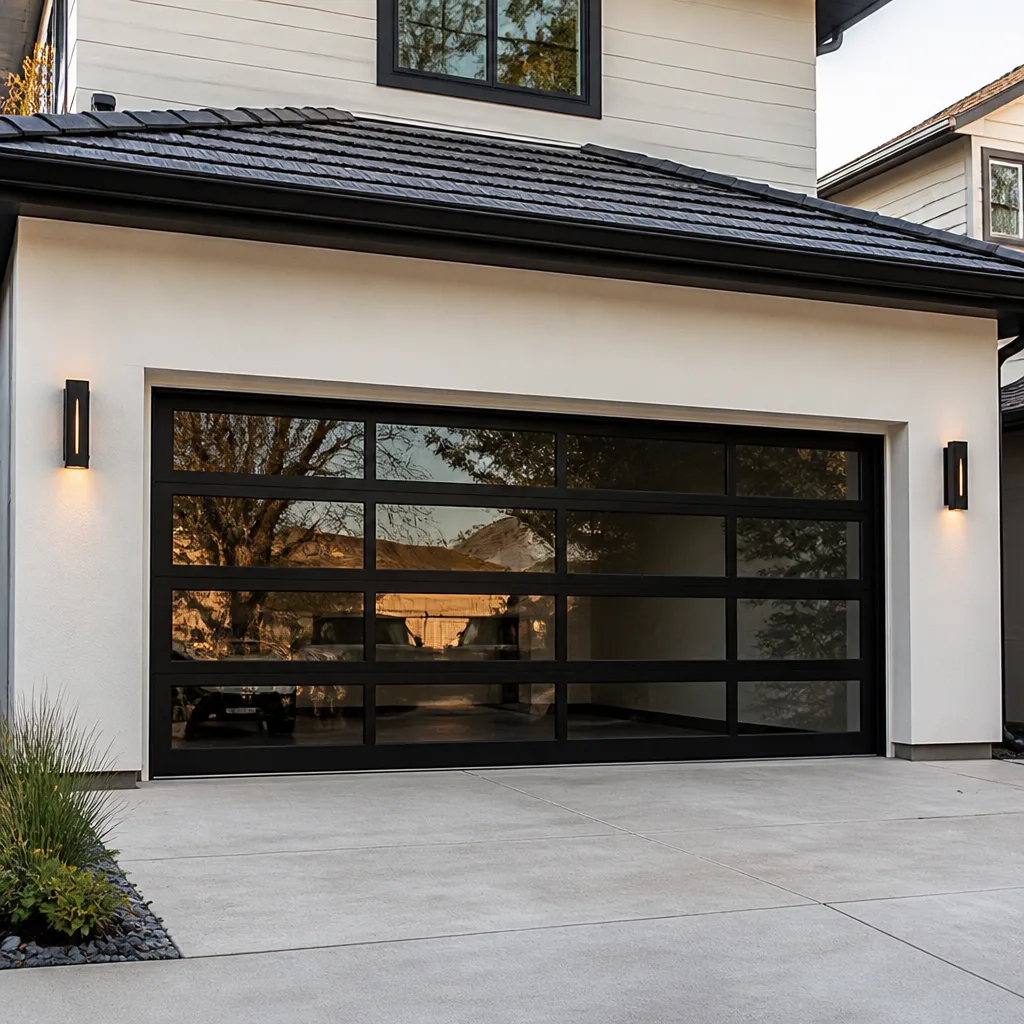 Full-view glass
 LiftMaster openers
 Chamberlain openers
Full 25-point door and opener safety check with every visit - springs, cables, rollers, tracks, and your LiftMaster or Chamberlain opener included
You get a price before we start. It does not change when the truck arrives.
Get your free estimateDIY vs Professional Garage Door: The Norwalk Homeowner’s Decision Guide
Most homeowners don’t lose a weekend to a garage door project because they lack mechanical ability. They lose it because the project looked simpler than it was, and the door they were working on is the largest moving object in their house. A torsion spring holds enough stored energy to send a steel winding bar through sheetrock, and a door panel that slips its track can weigh over 150 pounds before you add the hardware. This guide draws the line between jobs a careful Norwalk homeowner can genuinely handle and jobs that need a technician with brand-specific training. You’ll learn what the kit packaging doesn’t tell you, what California licensing law means for your own work, and what a failed DIY attempt actually costs to correct.
Quick Answer
Most garage door maintenance and small adjustments are reasonable DIY work for a homeowner who owns basic tools and follows safety procedures. However, torsion spring replacement, cable work, track realignment, and any job that involves lifting or resetting a door panel carry mechanical and legal risk that outweighs the savings. In Norwalk, the practical answer is: do the lubrication, weatherstripping, and sensor alignment yourself; call a professional for springs, cables, openers that pull on the frame, and any repair you can’t explain mechanically before you start.
Styles & brands we work with
- Raised-panel steel
- Carriage house
- Modern flush
- Full-view glass
- LiftMaster openers
- Chamberlain openers
Table of Contents
- Task-by-Task: What You Can Do and What You Shouldn’t
- Why Springs and Cables Are Not DIY Jobs
- California Licensing Law and What It Means for Your Own Work
- What “DIY-Friendly” Opener Installation Really Requires
- The Real Cost of a DIY Attempt That Needs Professional Correction
- How to Assess Your Own Mechanical Skill Level Honestly
- Brand-Specific Diagnostics: Why Your Door’s Maker Matters
- What Norwalk Conditions Mean for Your Garage Door
Task-by-Task: What You Can Do and What You Shouldn’t
The DIY-versus-professional question isn’t one decision. It’s about twenty small decisions, one per task. We break down the common jobs by risk level and what the work actually involves. The pattern is simple: tasks that keep the existing door within its designed range of motion are usually safe. Tasks that store, release, or redirect energy are not.
Genuinely Reasonable DIY Tasks
These jobs don’t touch the spring system, don’t require lifting the door off its track, and can’t cause structural damage if you stop halfway through.
- Lubrication: Using a garage-door-specific lubricant on hinges, rollers, and the opener rail. This is a fifteen-minute job that should be done in mild-climate areas like Norwalk at least once a year. Don’t use WD-40, which displaces the thicker grease rollers actually need.
- Weatherstripping replacement: The vinyl strip along the bottom of the door slides out of its retainer and a new one slides in. The same goes for the side and top seals. No spring involvement, no panel removal.
- Sensor alignment: The photo-eye sensors at the bottom of the track on both sides. If the opener light blinks and the door won’t close, the sensors are usually misaligned or the lens is dirty. A level and a soft cloth fix most cases in under ten minutes.
- Battery replacement in remotes and keypads: This is obvious, but many Norwalk homeowners call a technician for a door that simply has a dead remote battery. Replace the battery in the remote, the keypad, and the opener’s backup battery before assuming a system failure.
- Tightening visible hardware: Nuts and bolts on the track brackets and hinges work loose over time, especially with daily use. A socket set and a few minutes can quiet a rattling door. Do not touch the red-painted bolts or anything connected to the spring assembly.
Tasks That Carry Real Risk
These are the jobs we recommend leaving to a technician, regardless of how comfortable you are with tools. The reason is always mechanical, not a judgment about your ability.
- Torsion spring replacement: This is the top of the list for a reason. A spring wound to balance a 150-pound door stores roughly that much force in a coil pattern, and the winding process uses bars under direct tension. If a bar slips, it becomes a projectile. This is the one task on the door where a mistake can kill you, and no amount of careful reading changes the physics.
- Cable replacement: The cables that run alongside the track work as a pair. If one side fails while the other holds, the door twists in the track, and a twisting door can pull its own brackets out of the wall. Cables are under the same tension as the springs and require the same reset sequence to replace safely.
- Track realignment: If the track is visibly bent or the rollers are binding, the fix often involves loosening brackets, repositioning the track under the weight of the door, and re-tensioning. A door that comes off its track is a drop hazard, and holding a door in place while working on the track is a two-person job with the right equipment.
- Panel replacement: A single panel on a sectional door is connected to every other panel through the hinges, and the door is counterbalanced as a unit. Removing a panel changes the door’s weight and balance, which means the spring system has to be reset. This is not a “slide out the old one, slide in the new one” task, even though it looks that way.
Why Springs and Cables Are Not DIY Jobs
A torsion spring doesn’t look dangerous until you understand what it stores. The spring’s entire job is to hold the 130 to 200 pounds of door weight in a coiled energy state, releasing it slowly as the door closes and absorbing it as the door opens. When the spring breaks, it’s usually a loud bang from the garage that sounds like something structural failed. What you’re hearing is the release of all that energy at once.
The danger in replacement isn’t the old spring. It’s the new one. Installing a torsion spring means winding it around the shaft with two steel bars, transferring tension in quarter-turns until the spring holds the door’s full weight. A spring wound to the wrong number of turns either doesn’t lift the door or lifts it too fast. A winding bar that loses its seat during the process has enough force behind it to break bone. This is why every professional technician uses winding bars that are the exact diameter for the spring’s winding cone, and why the checklist before starting includes verifying both bars are fully seated on every turn.
Cables carry the same stored tension but through a different failure mode. When a cable snaps on one side, the door doesn’t just fall, it torques. The remaining cable holds one corner up while the other corner drops, twisting the entire door in the track. If the track brackets are older or the bolts are loose, that twist can pull the brackets out of the wall framing. Then the door isn’t just off balance, it’s partially unsupported.
Neither of these jobs responds well to being “mostly careful.” The margin for error is measured in degrees of spring winding and cable length. We answer the phone in Norwalk for homeowners who attempted one of these springs-and-cables jobs and found the door jammed on the ground, the cables unspooled, and the shaft unwound. That’s a completely different job from a fresh repair, because the partial state has to be reversed before the diagnostic even starts.
Our recommendation is direct: if the spring or cable is the problem, call a technician. Your role in that job is to describe what happened and when. Garage door repair on springs and cables is the highest-frequency emergency we respond to.
California Licensing Law and What It Means for Your Own Work
California requires a contractor’s license for any construction or home improvement project that totals more than $500 in labor and materials, when the work is performed for someone else. That rule governs who can charge you for garage door work, but it also has implications when you do the work yourself and something goes wrong later.
Here’s the Norwalk-specific part: if you install your own garage door opener, and that opener later causes damage, you’re the installer of record. Your homeowner’s insurance may cover the damage, or it may ask questions about who installed the equipment and whether the installation followed the manufacturer’s requirements and local building codes. That’s not a scare tactic, it’s how claims adjusters work. Most Norwalk homes are in fairly tight proximity to neighbors, and a door that falls on an adjoining fence or a car in the driveway becomes a liability question very quickly.
For a professional, the licensing requirement creates a floor of accountability. A licensed technician is required to work to the current code cycle and can be held responsible for installation defects. That’s a stronger position than a homeowner doing the same work and hoping it was right. The relevant code issues for garage doors include proper spring containment (open springs must have safety containment cables running through them), reverse-safety compliance on openers, and anchor points sized for the door’s actual weight.
This matters especially for opener installation. A self-installed opener that doesn’t have working auto-reverse or that isn’t properly braced against the ceiling framing is a code violation, and the failure mode is a door that crushes whatever is under it. If you’re the one who stripped the lag bolts or mounted the bracket to a cracked rafter, you own that outcome.
The takeaway: the licensing law isn’t about protecting contractors from competition. It’s about establishing who is accountable when moving equipment fails. For high-energy, high-weight components, the small savings from self-installation isn’t worth carrying that accountability alone.
What “DIY-Friendly” Opener Installation Really Requires
Every big-box retailer sells opener kits with “DIY friendly” on the box, and for the right person, that’s a true statement. The issue is that the phrase hides the actual requirements. You can’t judge whether the job is for you until you know what the kit doesn’t include on the box front.
A typical belt-drive opener from Chamberlain or LiftMaster ships as a rail, a motor unit, a belt or chain, a power head mount, a wall control, safety sensors, and a box of hardware. The known requirements are the ones the packaging lists: a ladder, a drill, basic sockets, and about three to four hours of focused work. The unlisted requirements are the ones that determine whether the job is actually DIY.
- Overhead access and structure: The opener hangs from steel angle brackets bolted into the ceiling joists or into a structural header. If the ceiling in your Norwalk garage is finished with drywall, you need to find the joists. If the joists are old, cracked, or the wrong spacing for the bracket width, you’re now doing structural assessment, not opener installation.
- Electrical work at the motor unit: Older garages often have the outlet in the wrong location for a ceiling-mounted motor. The kit assumes you have a grounded outlet within reach of the power cord. If you don’t, this is an electrical install, not a mechanical one. Running an extension cord from the wall outlet by the workbench to the ceiling-mounted motor is a code violation and a fire hazard, and it’s the most common shortcut in self-installed openers.
- Door balance verification: The opener is a drive system, not a lifting system. It’s designed to push a balanced door, and many opener installations go wrong because the door is already unbalanced from a failing spring. If you install a new opener on a door that’s 20 pounds out of balance, the opener’s motor burns out early, and the warranty claim gets denied for installation error. A professional checks the door balance before mounting the motor, because the two systems have to work as one.
- Safety sensor wiring to code: The sensors at the bottom of the track have to be wired to the opener’s logic board and adjusted so the beam aligns across the opening. This seems trivial until you’re splicing low-voltage wire in a 40-year-old garage with no visible wiring path. The sensors also have to be mounted at the correct height to meet the current reverse-safety standard.
None of these requirements is exotic, and a careful homeowner can absolutely install an opener from Genie or Chamberlain correctly. The point is that “DIY friendly” assumes the ceiling, the electrical, the door balance, and the sensor path are all already correct. If any one of them isn’t, the job stops being an afternoon project and starts being a multi-day repair with electrical and structural components.
The Real Cost of a DIY Attempt That Needs Professional Correction
The practical question most Norwalk homeowners are really asking when they compare DIY against professional work is: what does a failed attempt actually cost? We see the answer in the service calls that start with “I tried to fix it and now it’s worse.” Here’s the honest math, stated in ranges so you can compare against a free professional estimate.
What a Failed Spring Replacement Costs to Correct
A homeowner attempts a torsion spring replacement, gets the spring partially wound, loses control of the winding bar, and the spring unwinds violently. The bar is destroyed, the winding cone is gouged, and the door is sitting on the ground with cables unspooled and the shaft shifted in its bearings. The professional correction on this goes beyond a spring replacement. The technician has to remove the damaged spring, verify the shaft isn’t bent, reset both cables, rewind the new spring, and rebalance the door.
In the Norwalk market, a standard torsion spring replacement for one spring is typically in the $180 to $340 range. A paired spring replacement runs $300 to $600. A rework job, where the technician also has to undo a partial installation and inspect for shaft or bearing damage, lands in the $300 to $800 range depending on what was damaged. The DIY savings disappear entirely at the low end of that correction cost, and the homeowner still spent $60 to $100 on the spring they tried to install.
What a Failed Cable Repair Costs to Correct
A homeowner removes a cable to replace it, the door shifts, and the bracket that held the cable pulley bends. The correction involves replacing the bracket, re-running both cables so they’re matched lengths, and re-tensioning the whole system. A straight cable replacement is routinely $150 to $300. A rework with a bent bracket and misrouted cables is $250 to $450. The additional cost is the rework time, not the parts.
What a Failed Opener Install Costs to Correct
A self-installed opener that’s mounted to drywall anchors instead of joists has a simple failure: the motor pulls free, the door slams, and the rail is bent. The correction is a new opener, because the bent rail isn’t a repair part. A professional opener installation in Norwalk is typically $400 to $900 including the opener, and the rework is the same range because the opener is replaced. The difference is that the homeowner already paid for the opener that failed.
The rework scenario is the cost no one budgets for. A failed DIY job isn’t the same as calling a professional from the start. It’s a professional job with an extra hour or two of undoing the wrong steps, plus the wasted parts from the first attempt. If you want to compare your options accurately, call for a Garage Door Service Norwalk estimate before you buy parts. The estimate is free, and it tells you what the job would cost if you did nothing else.
How to Assess Your Own Mechanical Skill Level Honestly
The phrase “I’m pretty handy” covers everything from a homeowner who owns a level and a drill to a person who rebuilt their own car engine. The garage door doesn’t care which one you are. It cares about specific competencies. Use these benchmarks, not vibes.
- Can you name the tension state before you start? Before touching any garage door component, you should be able to say which parts are under load and which are not. The spring system is under load. The cables are under load. The door panels are counterbalanced, meaning their weight is held by the springs. If you can’t identify what’s holding what, you’re not ready to disconnect anything.
- Do you know which direction the spring winds? Torsion springs are handed, meaning one is wound clockwise and the other counterclockwise. They’re also sized by wire gauge, inside diameter, length, and wind direction. Installing a spring of the wrong hand or wrong size doesn’t just fail, it puts the door into an unbalanced state that stresses the entire track.
- Can you read a door’s balance? A properly balanced door, with the opener disengaged, should lift to waist height with one hand and hold its position. If it falls or flies up, the springs are wrong. This is the diagnostic test that tells you whether the door needs a spring adjustment, and it’s the test you should do before any opener work.
- Can you identify a misrouted cable from across the garage? A cable that’s off its pulley or crossed over the shaft is visible from a distance if you know what a correct setup looks like. If your cable knowledge is limited to “there’s a cable,” you’re not ready to touch cables.
- Do you own the right winding bars, or just a couple of screwdrivers? A torsion spring requires winding bars of the exact diameter to fit the winding cone holes. Screwdrivers, punches, and random rods are not winding bars. If the only long metal rods you own are for other projects, skip the spring job. The number-one cause of DIY winding injuries is an undersized bar that slips out of a cone under load.
If you can answer the first four questions correctly and you own or are willing to buy the exact right tools, the small jobs are genuinely within reach. If you can’t answer them, call a professional before you start. That’s not a knock on your ability. It’s a recognition that some diagnostics are only learned through repetition, and the repetition comes with consequences.
Brand-Specific Diagnostics: Why Your Door’s Maker Matters
A garage door is two systems: the door itself and the drive system that moves it. The door panels, track, and hardware come from one manufacturer or set of manufacturers, and the opener comes from another. Each brand has its own spring rates, cable paths, panel weights, and opener logic. A technician who works on your specific brand isn’t just replacing parts, they’re diagnosing within the manufacturer’s system.
We see this most clearly with openers. A LiftMaster opener and a Genie opener look different inside, use different logic boards, and pair differently with remotes and wall controls. A Chamberlain opener uses a different travel-limit learning sequence than a Genie, and a technician who only knows one brand will push the wrong button sequence and assume the logic board is dead. Calling a technician who actually works on your opener brand saves you the cost of a misdiagnosis.
The door side is similar. A Clopay door uses different hinge and roller profiles than an Amarr, and a Wayne Dalton door has its own torque-master spring system that is completely unlike a standard torsion setup. A Raynor door uses its own track radius in some models. When a Norwalk homeowner tells us their door is slow or noisy, the first question is almost always “what brand is it?” because the answer changes the diagnostic path.
Our shop works on equipment from LiftMaster, Chamberlain, Genie, Clopay, Amarr, Wayne Dalton, Craftsman, and Raynor as a matter of routine. That’s not a marketing list. It means when someone calls with a Wayne Dalton torque-master problem, we’re not learning the system on their garage floor. The brand-specific parts and know-how are already in hand. If you’re weighing whether to call someone, asking “do you work on my brand regularly?” is a better filter than “how much do you charge?” A wrong brand diagnosis costs you more than a fair price ever would.
What Norwalk Conditions Mean for Your Garage Door
Norwalk’s climate is kind to garage doors in ways that harsher climates are not. We don’t get the freeze-thaw that wrecks springs in colder towns, and we don’t get the extreme temperature swings that crack weatherstripping in the high desert. What we do get is a long, mild operating season that encourages daily use, and that daily use is the real driver of garage door wear in this area.
A garage door in Norwalk that’s used four or five times a day as the primary entry point opens and closes roughly 1,500 to 2,000 times a year. That’s a spring cycle count that matters, because extension and torsion springs are rated in cycles, not years. A door bought in 2014 and used daily has likely cycled over 15,000 times. Standard springs are rated around 10,000 cycles, which means a door from that era is on borrowed time even if nothing looks wrong.
The other Norwalk-specific factor is distance from the coast. We’re inland enough that corrosion isn’t a major driver of failure, but we’re not far enough for anyone to call it a desert climate, either. The result is that the most common wear pattern we see locally isn’t rust or rot; it’s dry hinges, fatigued springs, and opener gears worn smooth by daily use. Lubrication helps, but it can’t restore a spring that has simply reached the end of its cycle life, and it can’t bring back an opener gear that’s been spinning for twelve years.
The practical takeaway for Norwalk homeowners: the garage door systems in this area fail from use, not from weather. That means the repair triggers are predictable. If your door is making a grinding sound when the opener runs, that’s a gear. If the door is slower than it used to be on the way up, that’s a spring losing tension. If the door jerks when it starts moving, that’s usually a cable or roller issue. Catching these signs early is cheaper than waiting for a full failure, and none of them are conditions you can fix with a can of spray lubricant.
Common Mistakes to Avoid
- Assuming a loud bang is a one-time event. A spring that breaks usually does so once, but the second spring on a two-spring system is often near the end of its life too. Replacing one spring and not the other means you’ll be back in the garage in six months for the same job. Since a matched pair is usually replaced together, expect the second spring to need attention soon after the first fails.
- Using the wrong lubricant. WD-40 is a solvent, not a garage door lubricant. It strips the grease from rollers and leaves the metal dry. Use a lithium-based or garage-door-specific lubricant on the hinges, rollers, and opener rail, and never use grease on the torsion spring itself.
- Testing the door balance with the opener engaged. The balance test only works with the opener disengaged using the red release handle. If the opener is still connected, you’re testing the opener’s force, not the door’s balance. A Norwalk homeowner who skips this step never gets an accurate read.
- Buying parts before the diagnosis is confirmed. A door that won’t open could be a spring, a cable, an opener logic board, a sensor issue, or a simple dead battery in the remote. Buying a spring because a neighbor said “it’s usually the spring” means you own a spring that may not fit and almost certainly wasn’t the actual fix.
- Leaving bent tracks in place. A door that’s jumped the track often bends the track itself when it falls. Replacing the rollers without straightening the track just means the new rollers bind in the same spot. A bent track has to be straightened or replaced before the door will run correctly again.
- Not replacing the weatherstripping when the gap appears. That vinyl strip at the bottom of the door isn’t just about keeping water out. It also keeps vermin, leaves, and dust from entering through the gap, which matters in Norwalk’s dry but active environment. A gap the size of a pencil lets in everything smaller than a pencil.
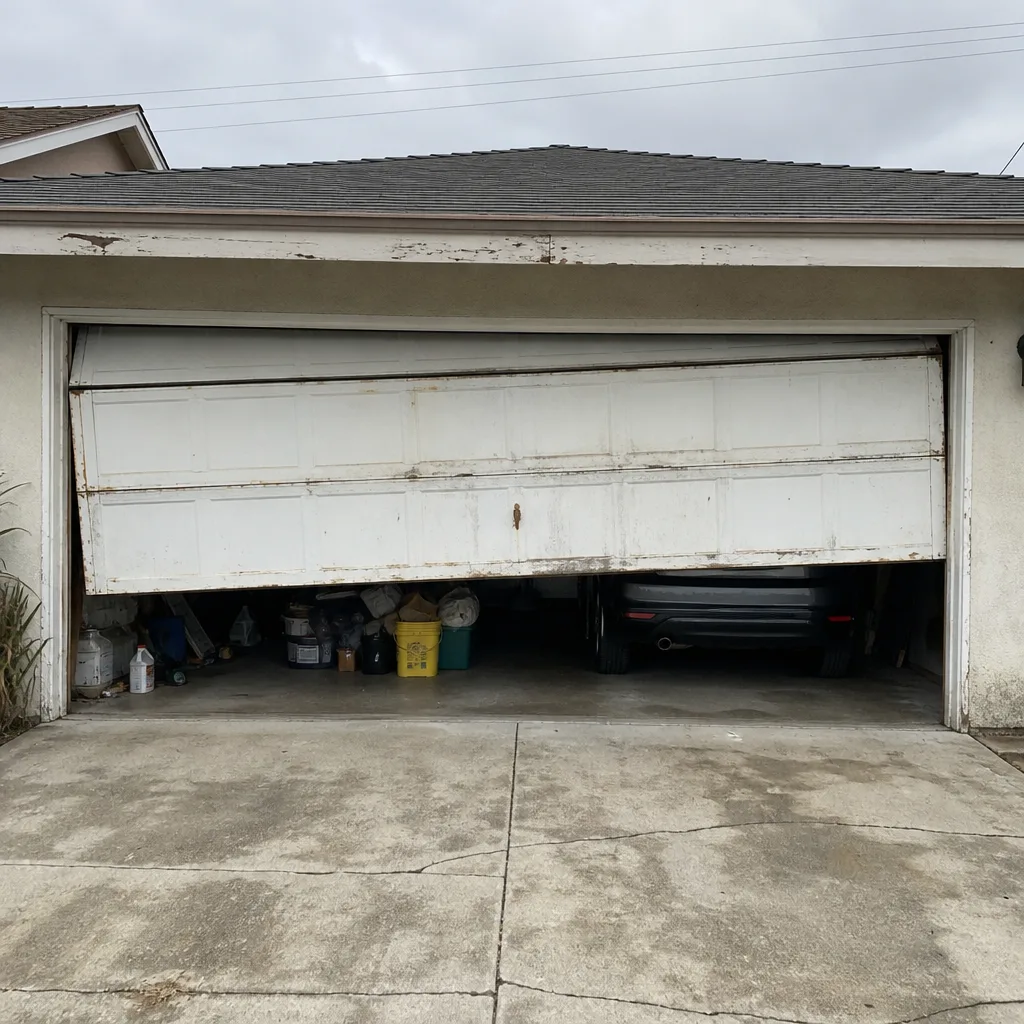
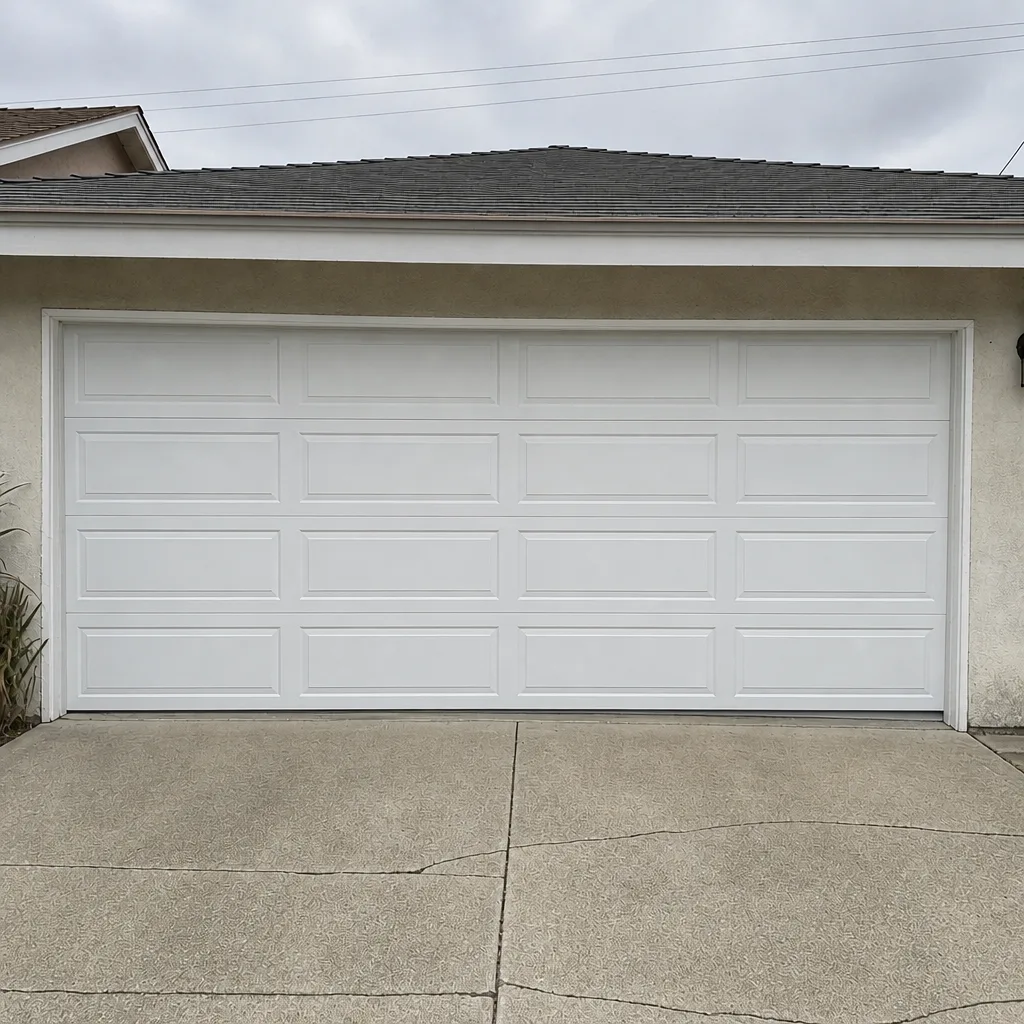
See the difference
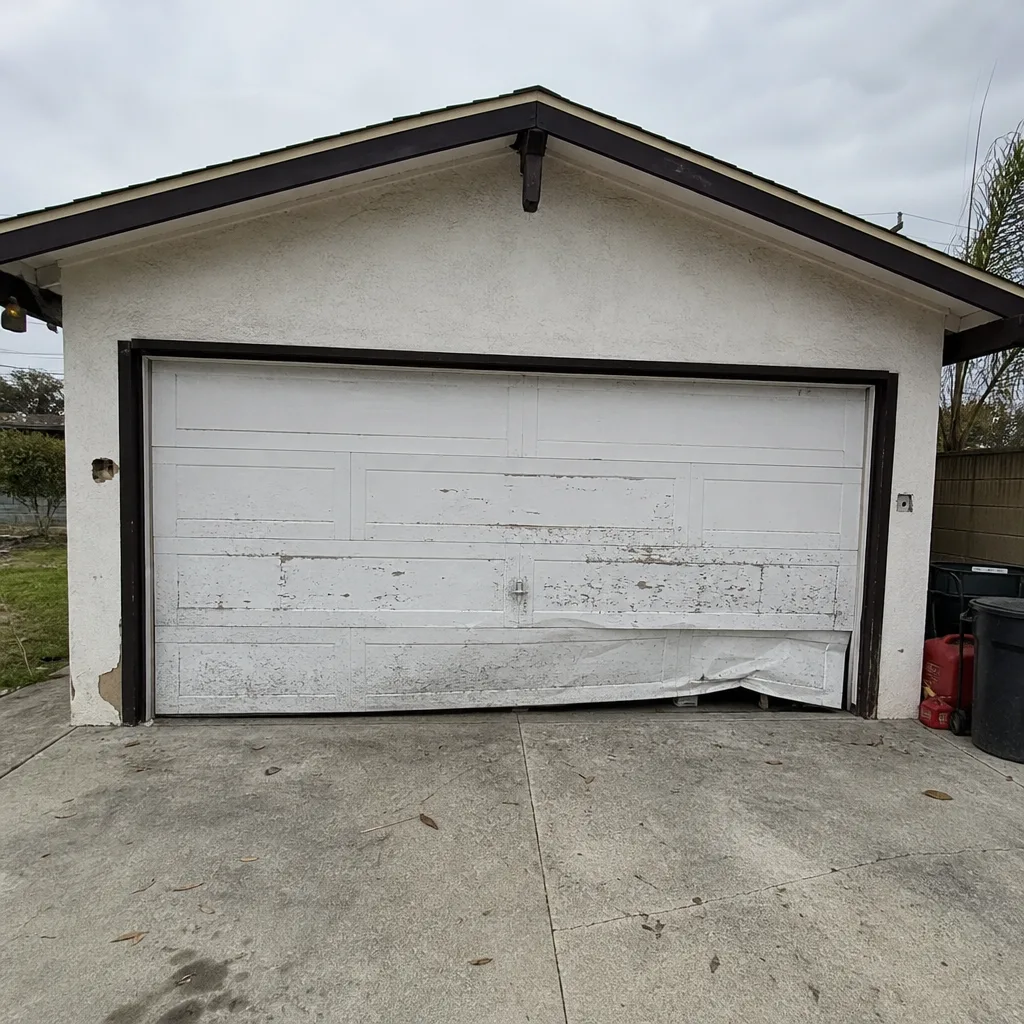 Before
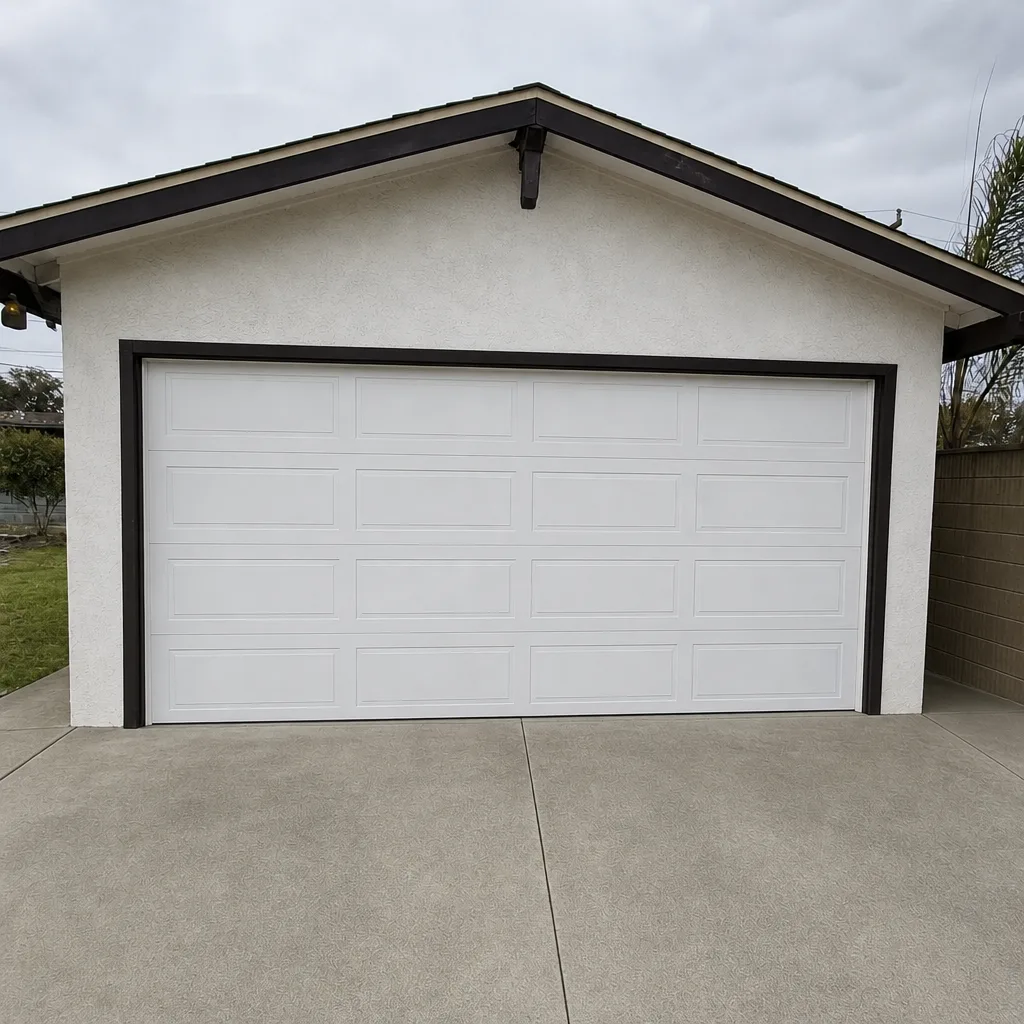 After
 Before
 After
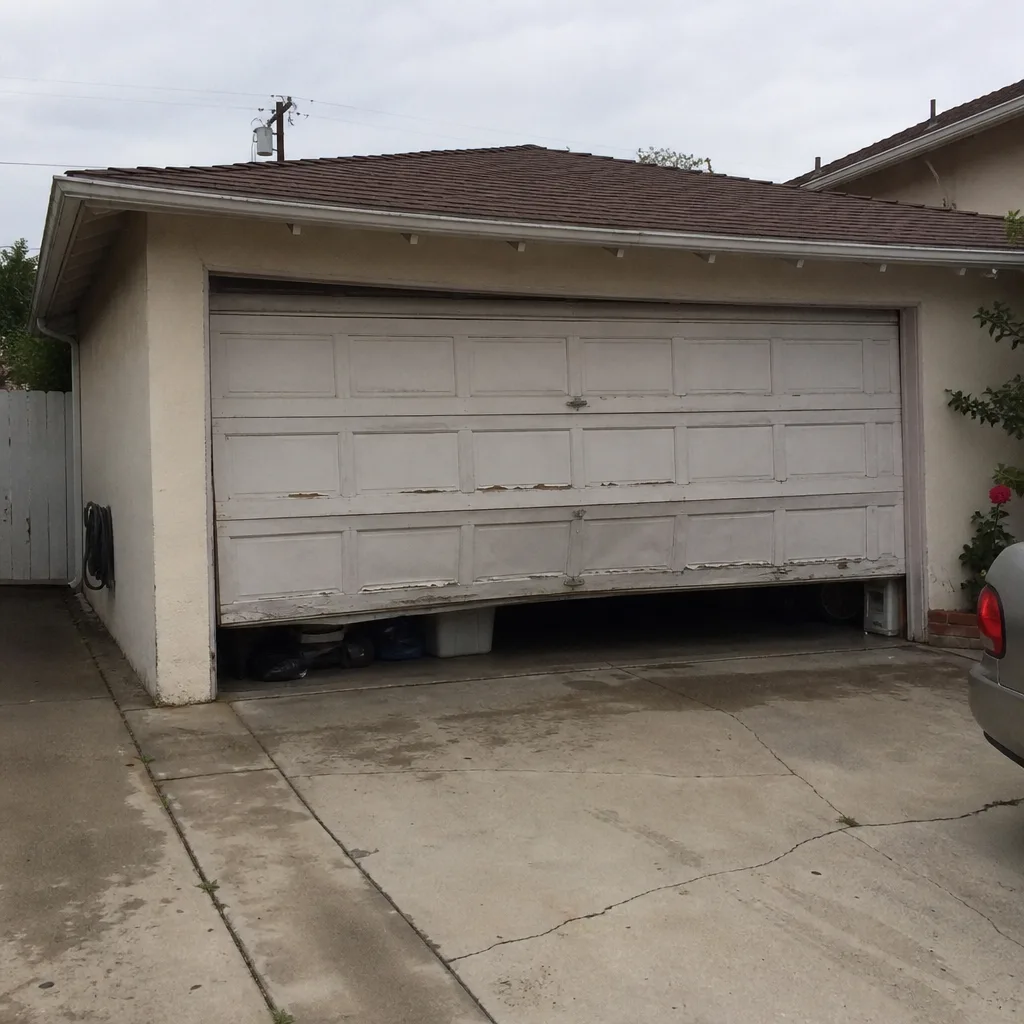 Before
 After
When to Call a Professional
The line is simple: call a professional when the job involves stored energy, structural connections, or a diagnosis you can’t make confidently. That means springs, cables, track realignment, any job that requires lifting the door off the ground, and any opener problem that doesn’t resolve with a sensor cleaning or a remote battery. A door that’s off its track, a shaft that’s shifted, a cable that’s unspooled, or an opener that smokes or sparks are all immediate professional calls. If your door is a primary entry point and it’s stuck open or closed, the urgency is real; a car in the garage is a stranded car. Garage door opener repair that involves the motor or logic board is a professional job, not a weekend test.
For Norwalk homeowners who’ve read this far and recognize their door in the warnings, you don’t have to make a decision alone. Norwalk homeowners can call Garage Door Service Norwalk for a free estimate at (833) 589-9971. We’ll give you a written number before any work starts, and we’ll tell you honestly whether the job is one you can handle yourself.
Frequently Asked Questions
No. Torsion spring replacement is the one garage door task that can kill or seriously injure you, not because homeowners aren’t capable, but because a spring under 150+ foot-pounds of torque doesn’t give a warning before it fails. A winding bar that slips from the cone during installation becomes a projectile, and the common DIY mistake is using an undersized bar or a screwdriver instead of the correct winding bar diameter. This is a job for a trained technician with the right tools, period.
Lubricating hinges and rollers, replacing the bottom and side weatherstripping, cleaning and realigning the photo-eye safety sensors, replacing remote and keypad batteries, and tightening visible hinge and track bolts are all reasonable homeowner tasks. These jobs don’t touch the spring system, don’t require lifting the door off its track, and can’t cause structural damage if you stop partway through. Call (833) 589-9971 if you’re unsure whether a task is in the safe category.
The correction cost depends on what was attempted. A bungled spring replacement that requires undoing a partial install and inspecting for shaft damage typically lands in the $300 to $800 range in Norwalk. A failed cable repair with a bent bracket runs $250 to $450. A self-installed opener that pulls free from drywall anchors and bends the rail usually means a full replacement at $400 to $900. These estimates are free to confirm before you start: call (833) 589-9971 for a written quote.
Yes, and the installation is legal for a homeowner doing work on their own property. The legal exposure comes if the work is done incorrectly and causes damage or injury later, at which point your insurance company will ask who installed the opener and whether the install met code. Proper opener installation requires ceiling joist mounting, a grounded outlet within reach of the motor, a door that’s already balanced, and sensors wired to current reverse-safety standards. If any of those isn’t already true, the job is more than a kit project.
We work on equipment from LiftMaster, Chamberlain, Genie, Clopay, Amarr, Wayne Dalton, Craftsman, and Raynor. That covers both the door panel side (Clopay, Amarr, Wayne Dalton, Raynor) and the opener side (LiftMaster, Chamberlain, Genie, Craftsman), so a single technician can diagnose the full system rather than passing you between specialists. Call (833) 589-9971 to check availability for your specific brand.
When the opener runs but the door doesn’t lift, the spring system is the first suspect, not the opener. The opener is a drive system, not a lifting system. It’s designed to push a balanced door, and if one or both torsion springs have failed, the opener motor is trying to lift the full weight of the door on its own, which it can’t do. Disengage the opener with the red release handle and try to lift the door by hand. If it’s heavy or won’t move, the springs have failed. This is a professional repair, not an opener issue. Call (833) 589-9971 for a free estimate.
The Bottom Line
The DIY-versus-professional question on a garage door isn’t about whether you’re handy. It’s about where the stored energy lives. Lubricating, weatherstripping, sensor alignment, and remote batteries are clean DIY wins for a Norwalk homeowner who owns a level and a socket set. Springs, cables, tracks, and door panels are the no-go zone, and the cost of entering that zone and losing ranges from a few hundred to over eight hundred dollars to correct. The safe split is simple: do the maintenance yourself, call a licensed professional for the mechanical work, and never learn spring winding from a video while standing under the spring. If you’re reading this because your door is already broken, call Garage Door Service Norwalk at (833) 589-9971. The estimate is free, and the advice about whether you can handle it yourself is honest.
Written by the team at Garage Door Service Norwalk, serving Norwalk since 2014.